This might be another post that you’re wondering how this subject ties into this months topic. Turns out that clear ice and whiskey is actually a big deal. Many folks prefer to sip whiskey over ice and we all enjoy ice with our favorite whiskey cocktails. So why does it matter if its clear? Well – first off – it looks bad ass. I mean – nothing truly beats the look of a cocktail made with perfectly clear ice. I’ve included this glorious picture below for your reference.

But besides that there are other reasons to pursue clear ice. Clear ice is ice that lacks imperfections. Ice that has imperfections is more likely to crack when exposed to warmer liquid. When the ice cracks it gains more surface area. The more surface area – the quicker your drink gets watered down which falls squarely in the ‘not cool’ category. So clear ice means your drink will stay colder for longer without becoming watered down. This is a particularly big deal for those of you who like drinking whiskey straight on ice. Nothing worse than watered down whiskey.
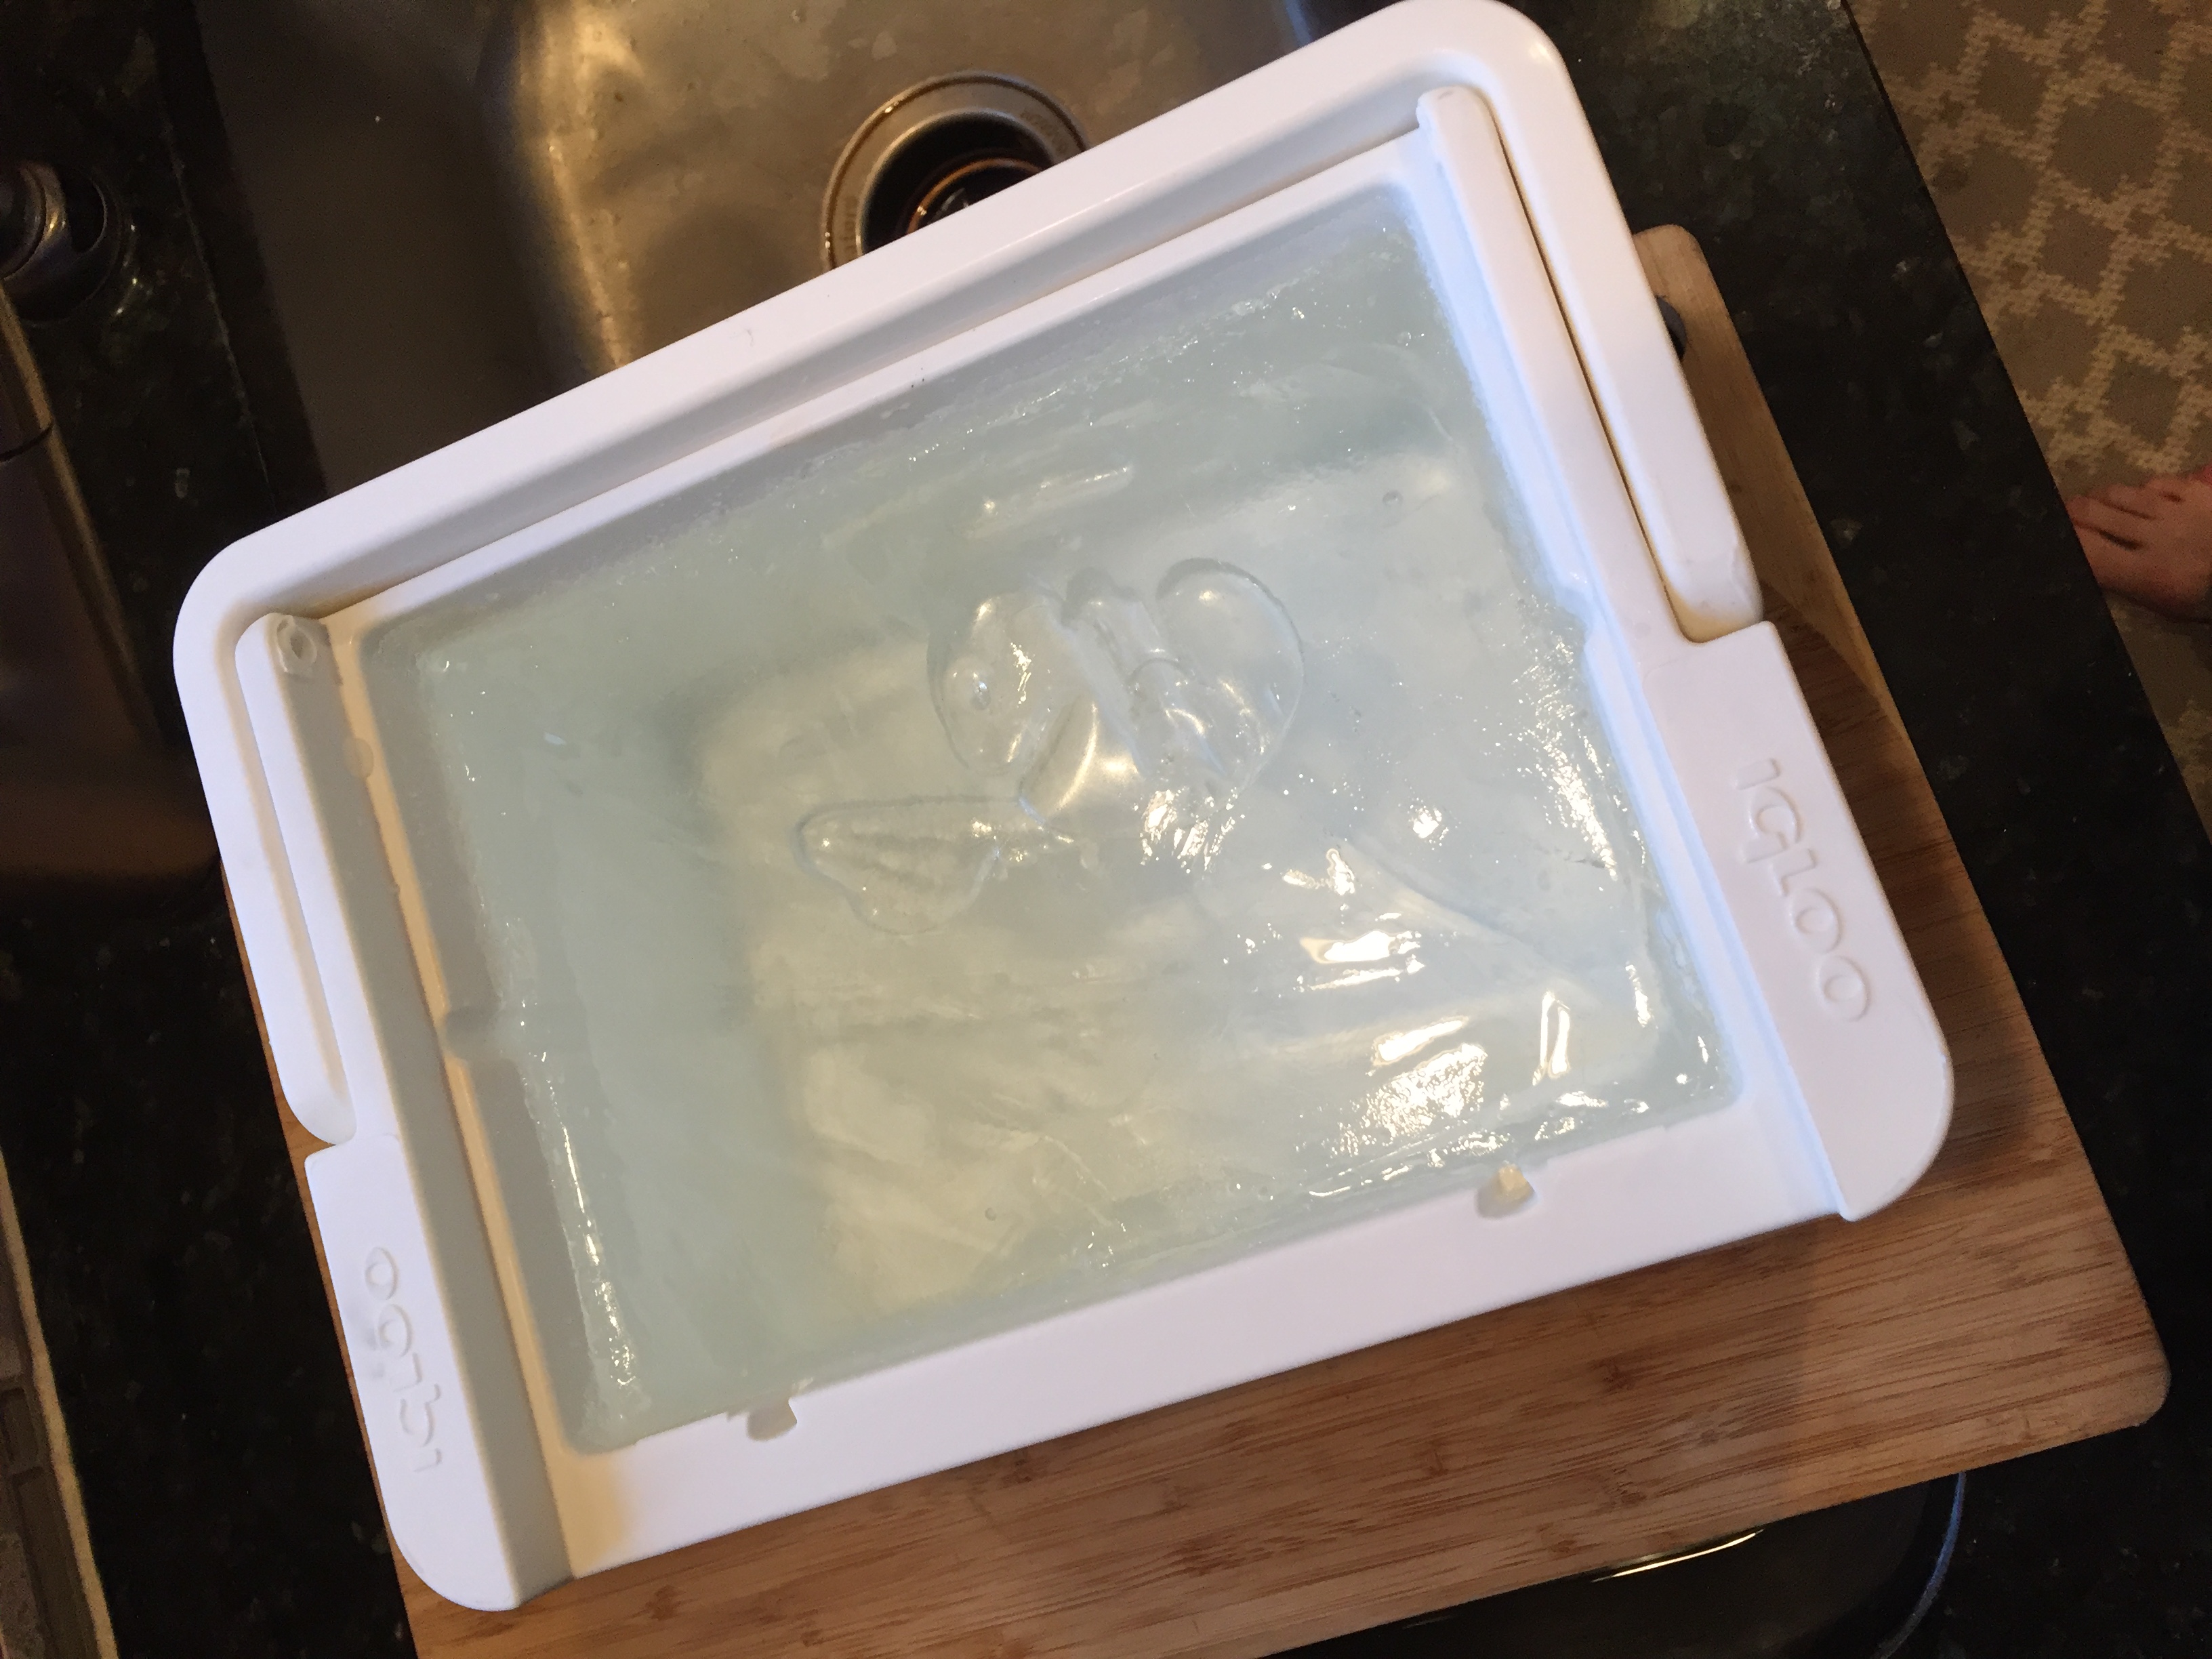
So how do you make clear ice? It’s actually not that hard at all. I found this link online of this guy making it using a small cooler in his freezer. The hardest part of the whole process is figuring out how long it takes your freezer to freeze the water to a particular thickness. The whole reason this works is because the cooler allows the ice to ‘directionally freeze’. So rather than the water freezing from all directions toward the center, the cooler prevents the water from freezing on the side and the bottom and instead the water freezes from the top down. As the water freezes – all of the impurities in the water get pushed down into the unfrozen water below. If you allowed the entire cooler to freeze you’d find that the bottom chunk of ice was cloudy like normal ice cubes. The trick is to take the cooler out of the freezer when the ice is at the right thickness for the size cubes you want. This yields a perfectly clear block of ice and also leaves all of the impurities and things that would make the ice cloudy in the water at the bottom.
The only thing you need is a cheap 5 quart cooler, water, and room in your freezer. All you do is fill up the cooler with water from your tap and then put it in the freezer. Easy!
Now you just need to wait. This is the hard part – you need to experiment with how long it takes your freezer to freeze the ice to a particular thickness. Ideally – I want a sheet of ice that is about 2 inches thick. My freezer appears to be set right around 10 degrees (which seems odd now that I type this…). On my first attempt, I removed the ice at 28 hours and it looked like this…
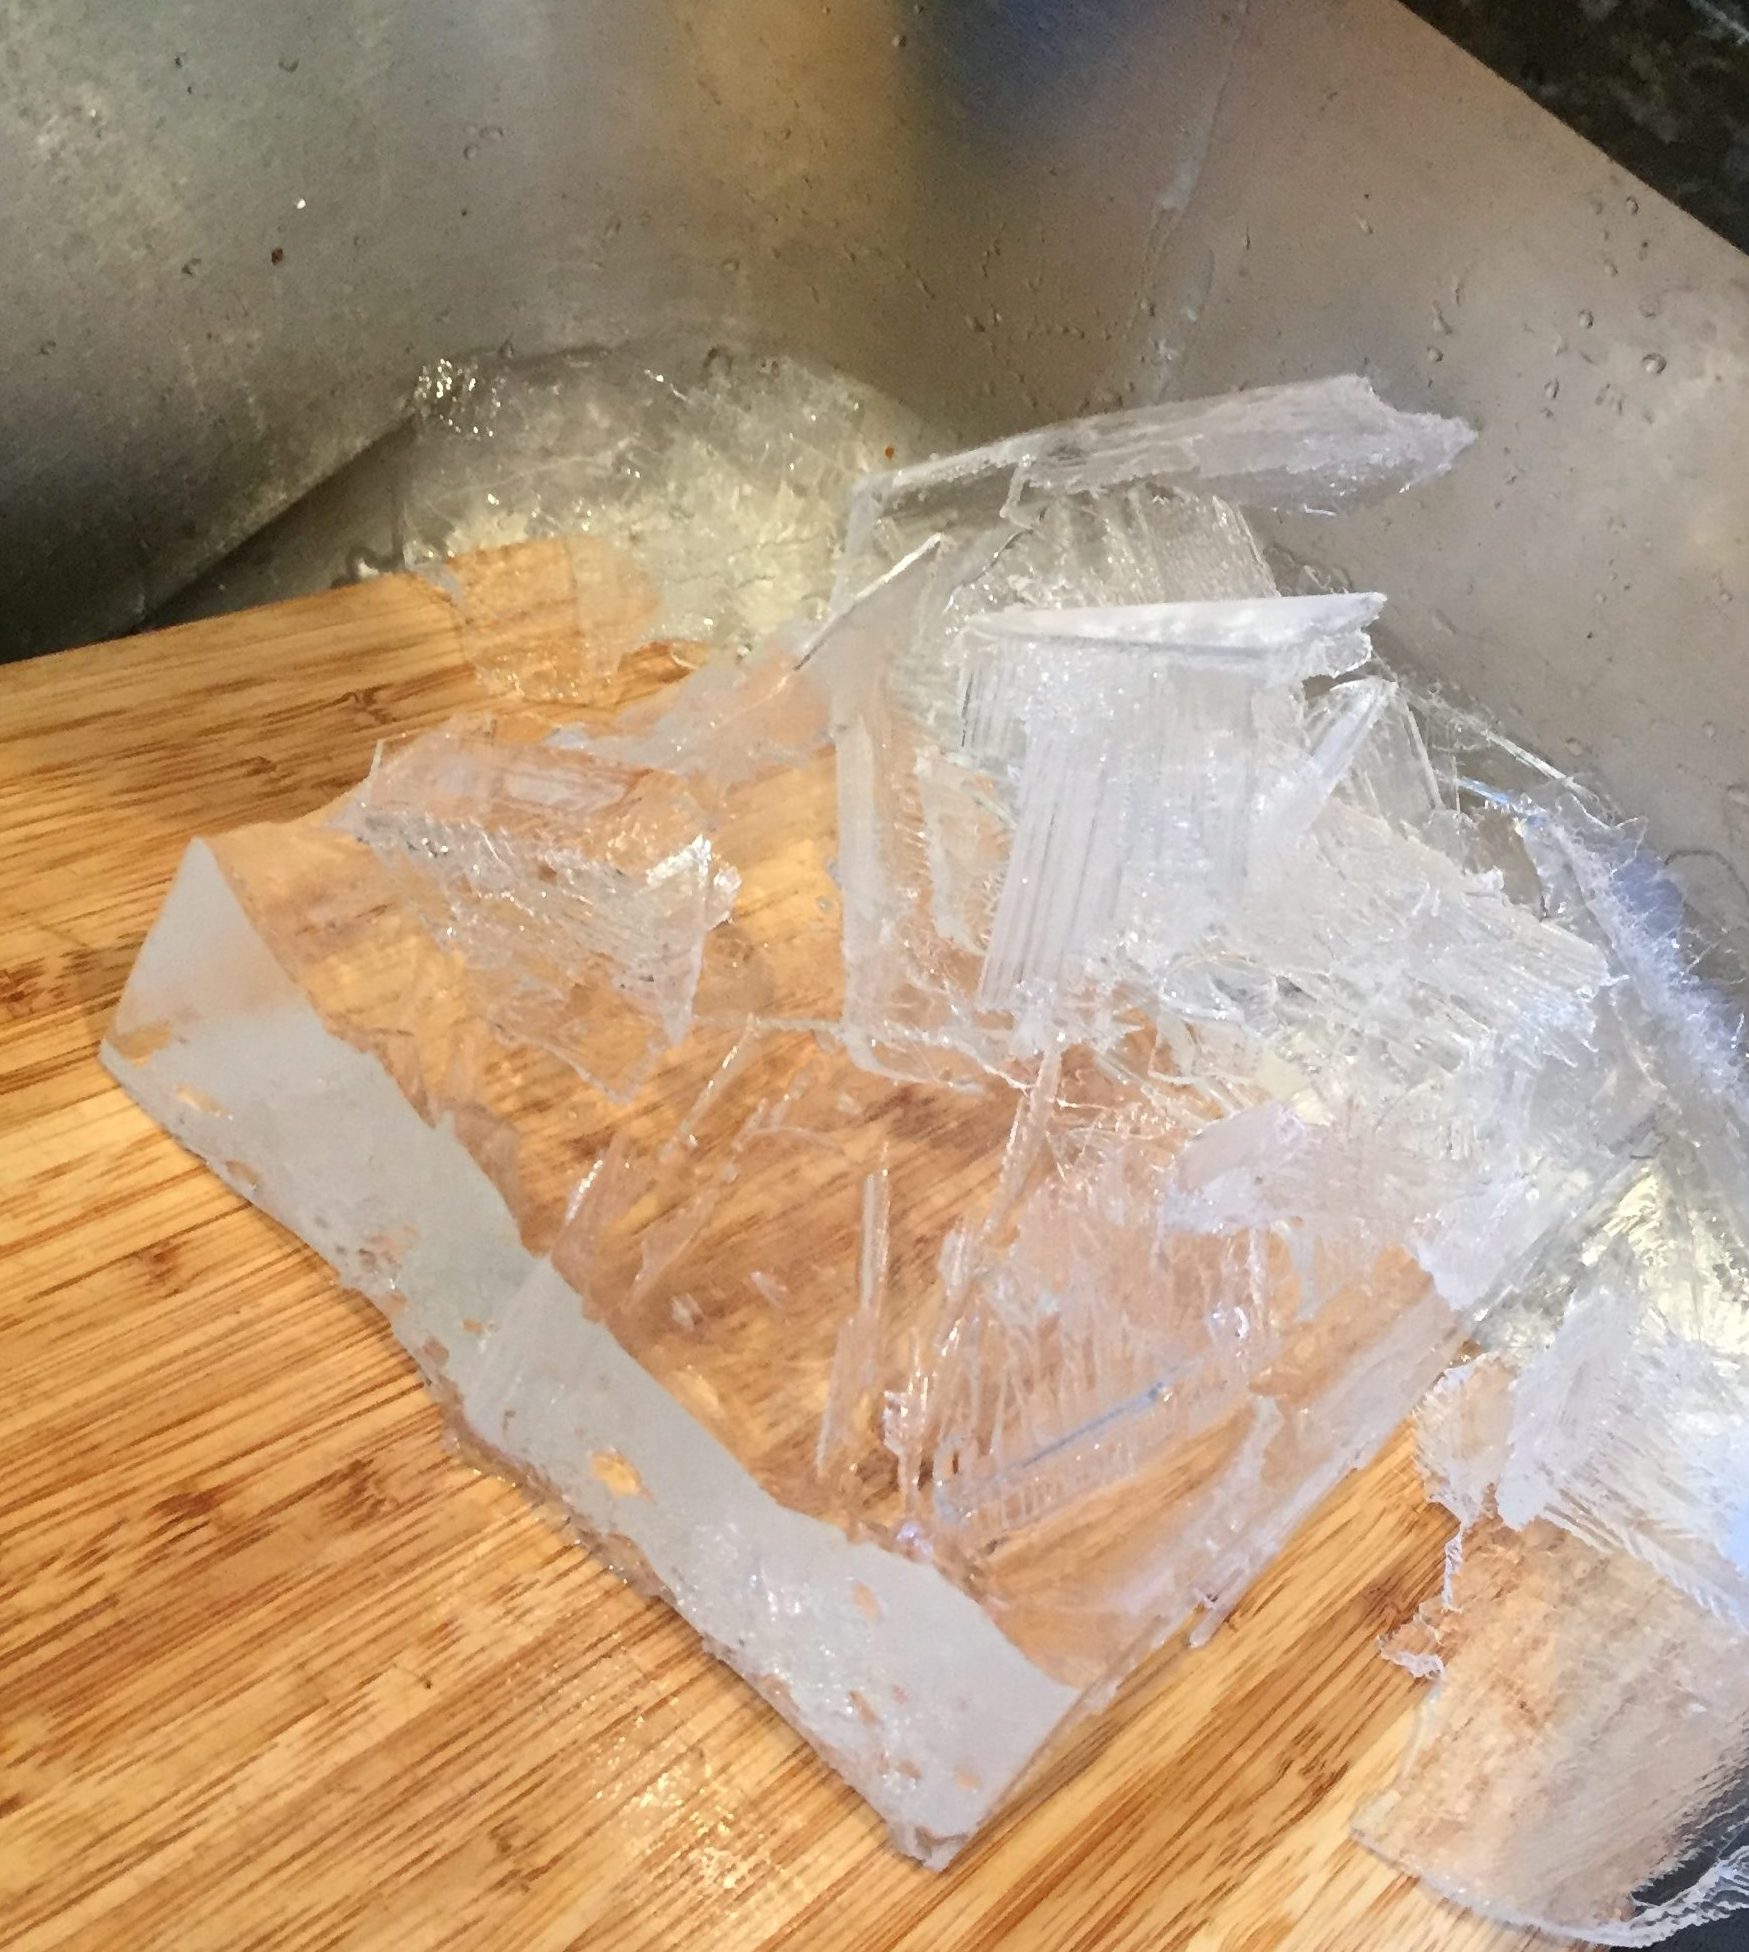
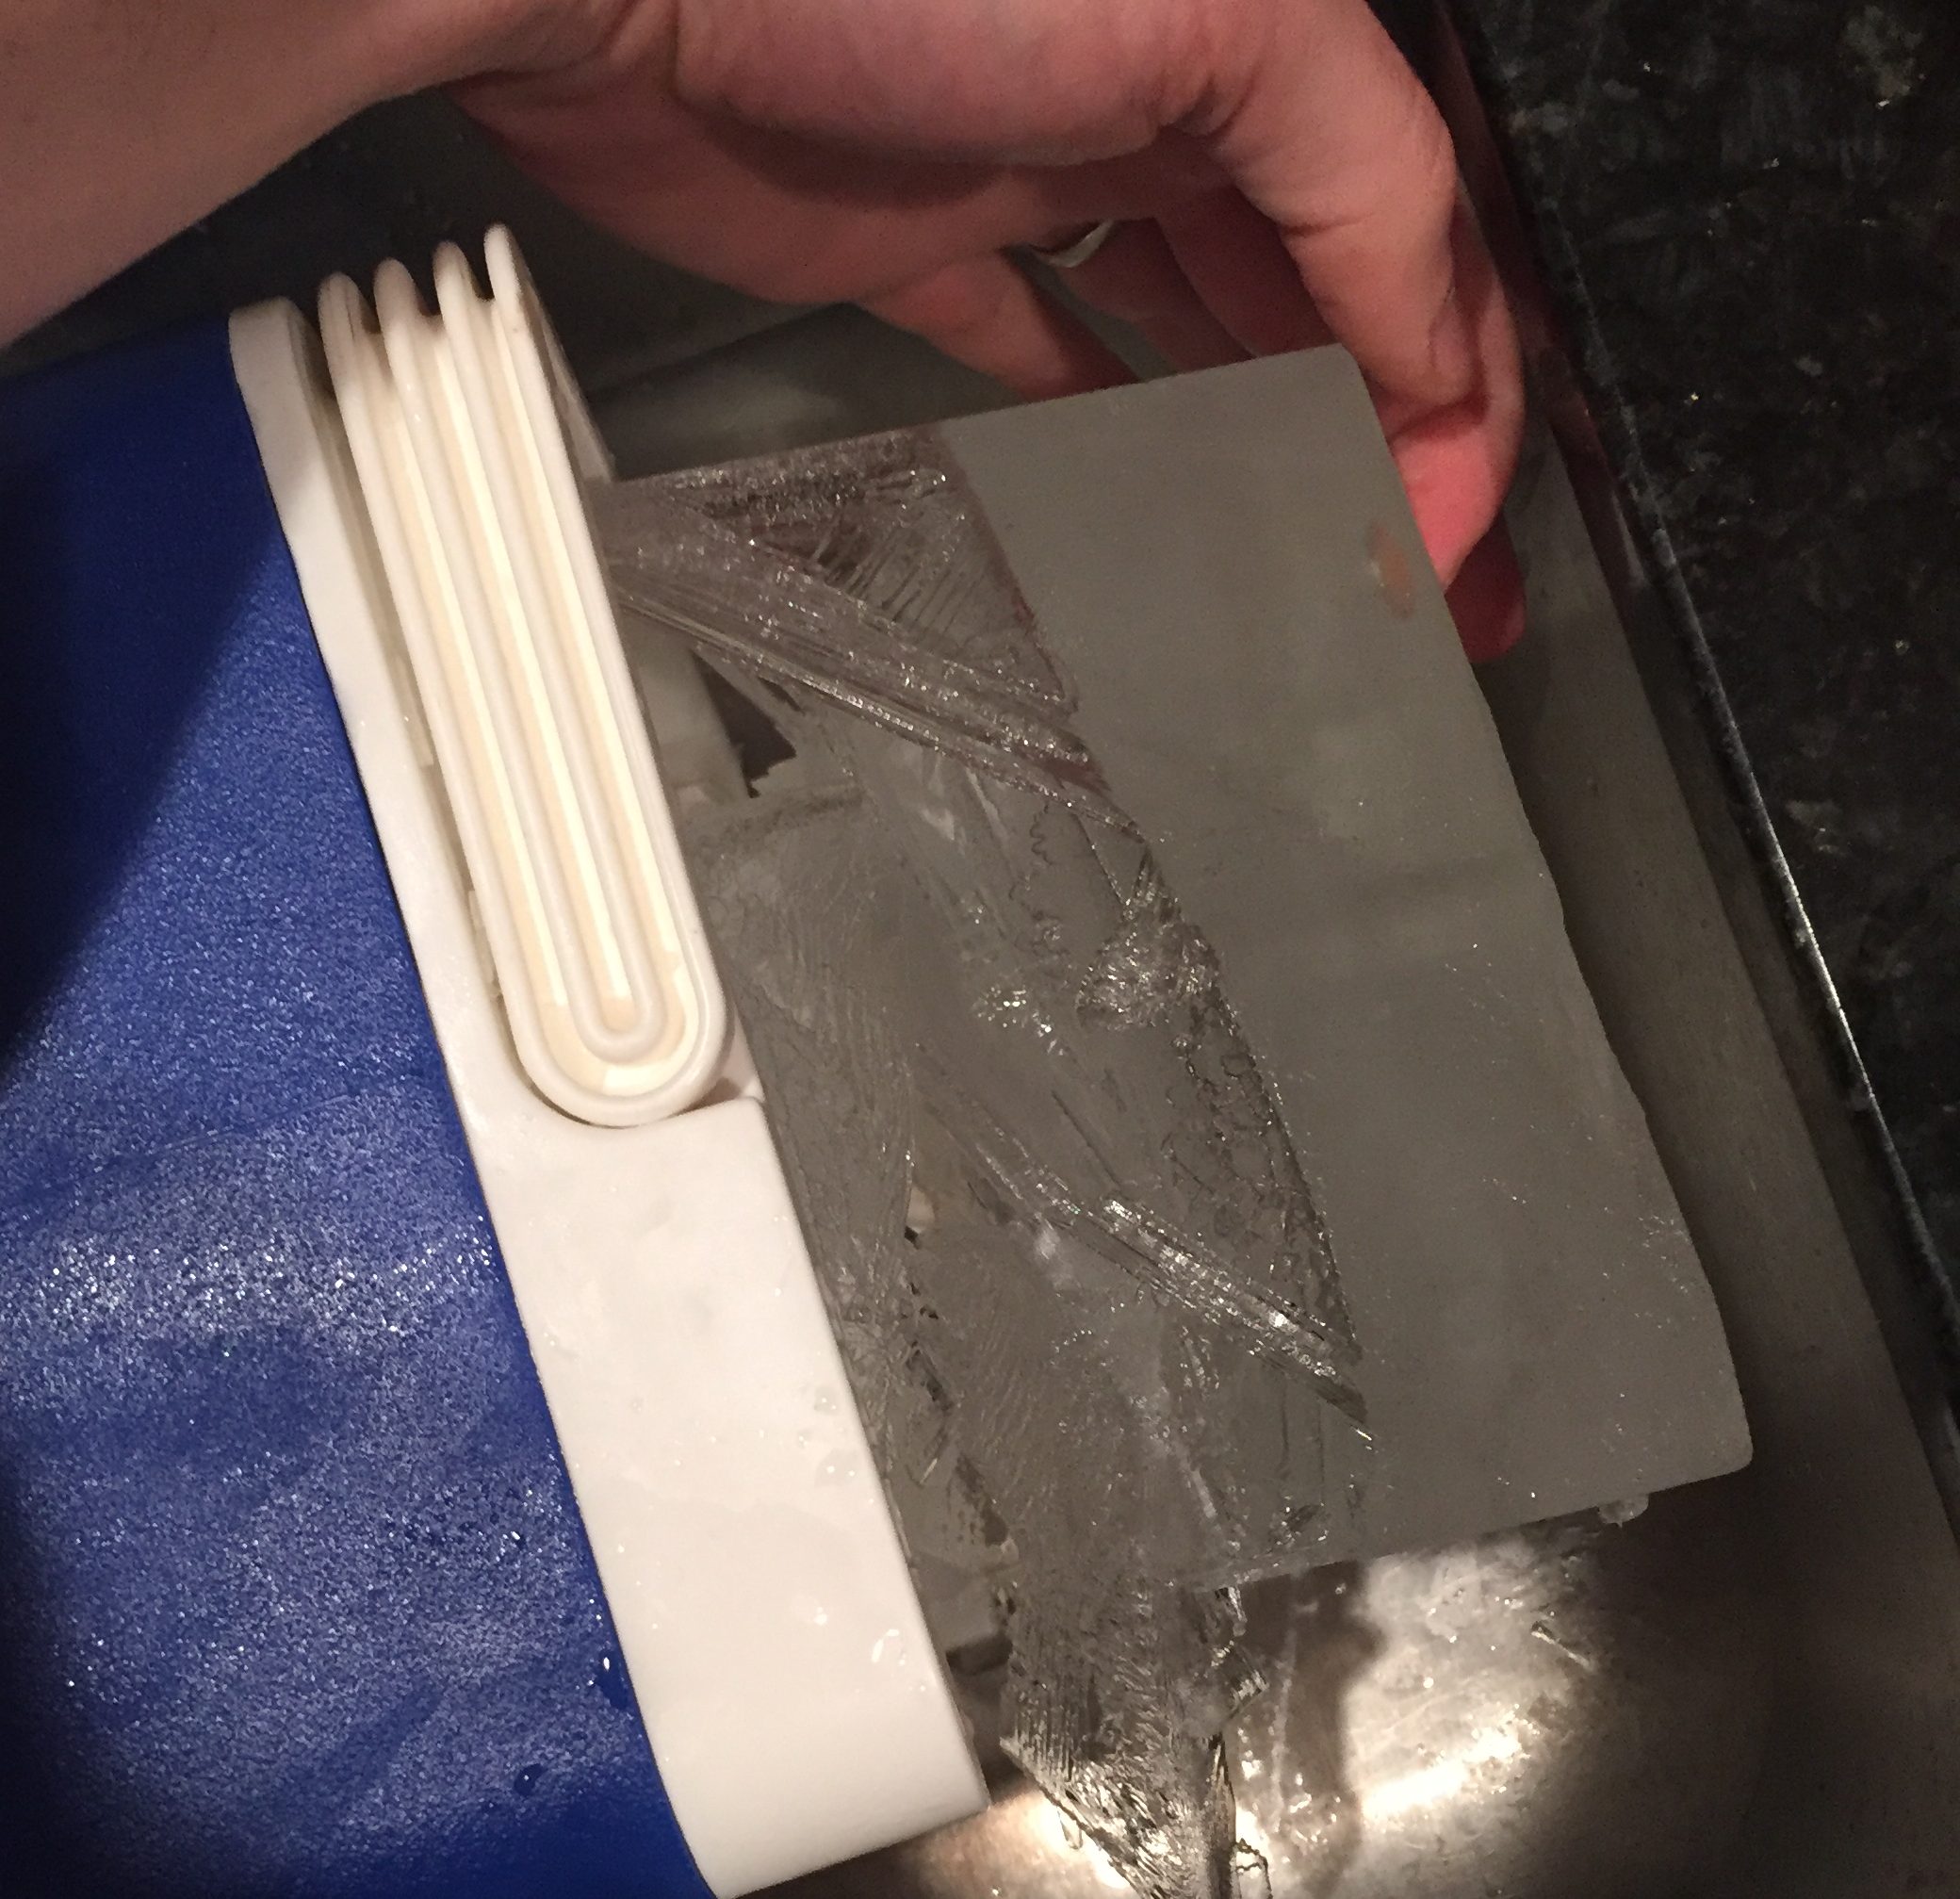
Notice how there are what appear to be air bubbles in the ice. Yeah – Im impatient. I kept checking it and moving it around which caused this. Don’t touch the ice until you’re ready to pull it out! To get the ice out I find it’s easiest to set it in the sink sideways and sort of just push in on the ice to loosen it up at the sides. Then just dump it out into the sink. You’ll end up with something like this…
If you use a kitchen hammer (is that what those things are called?) you can break away all of the loose ice and you should end up with a fairly straight sheet of ice…
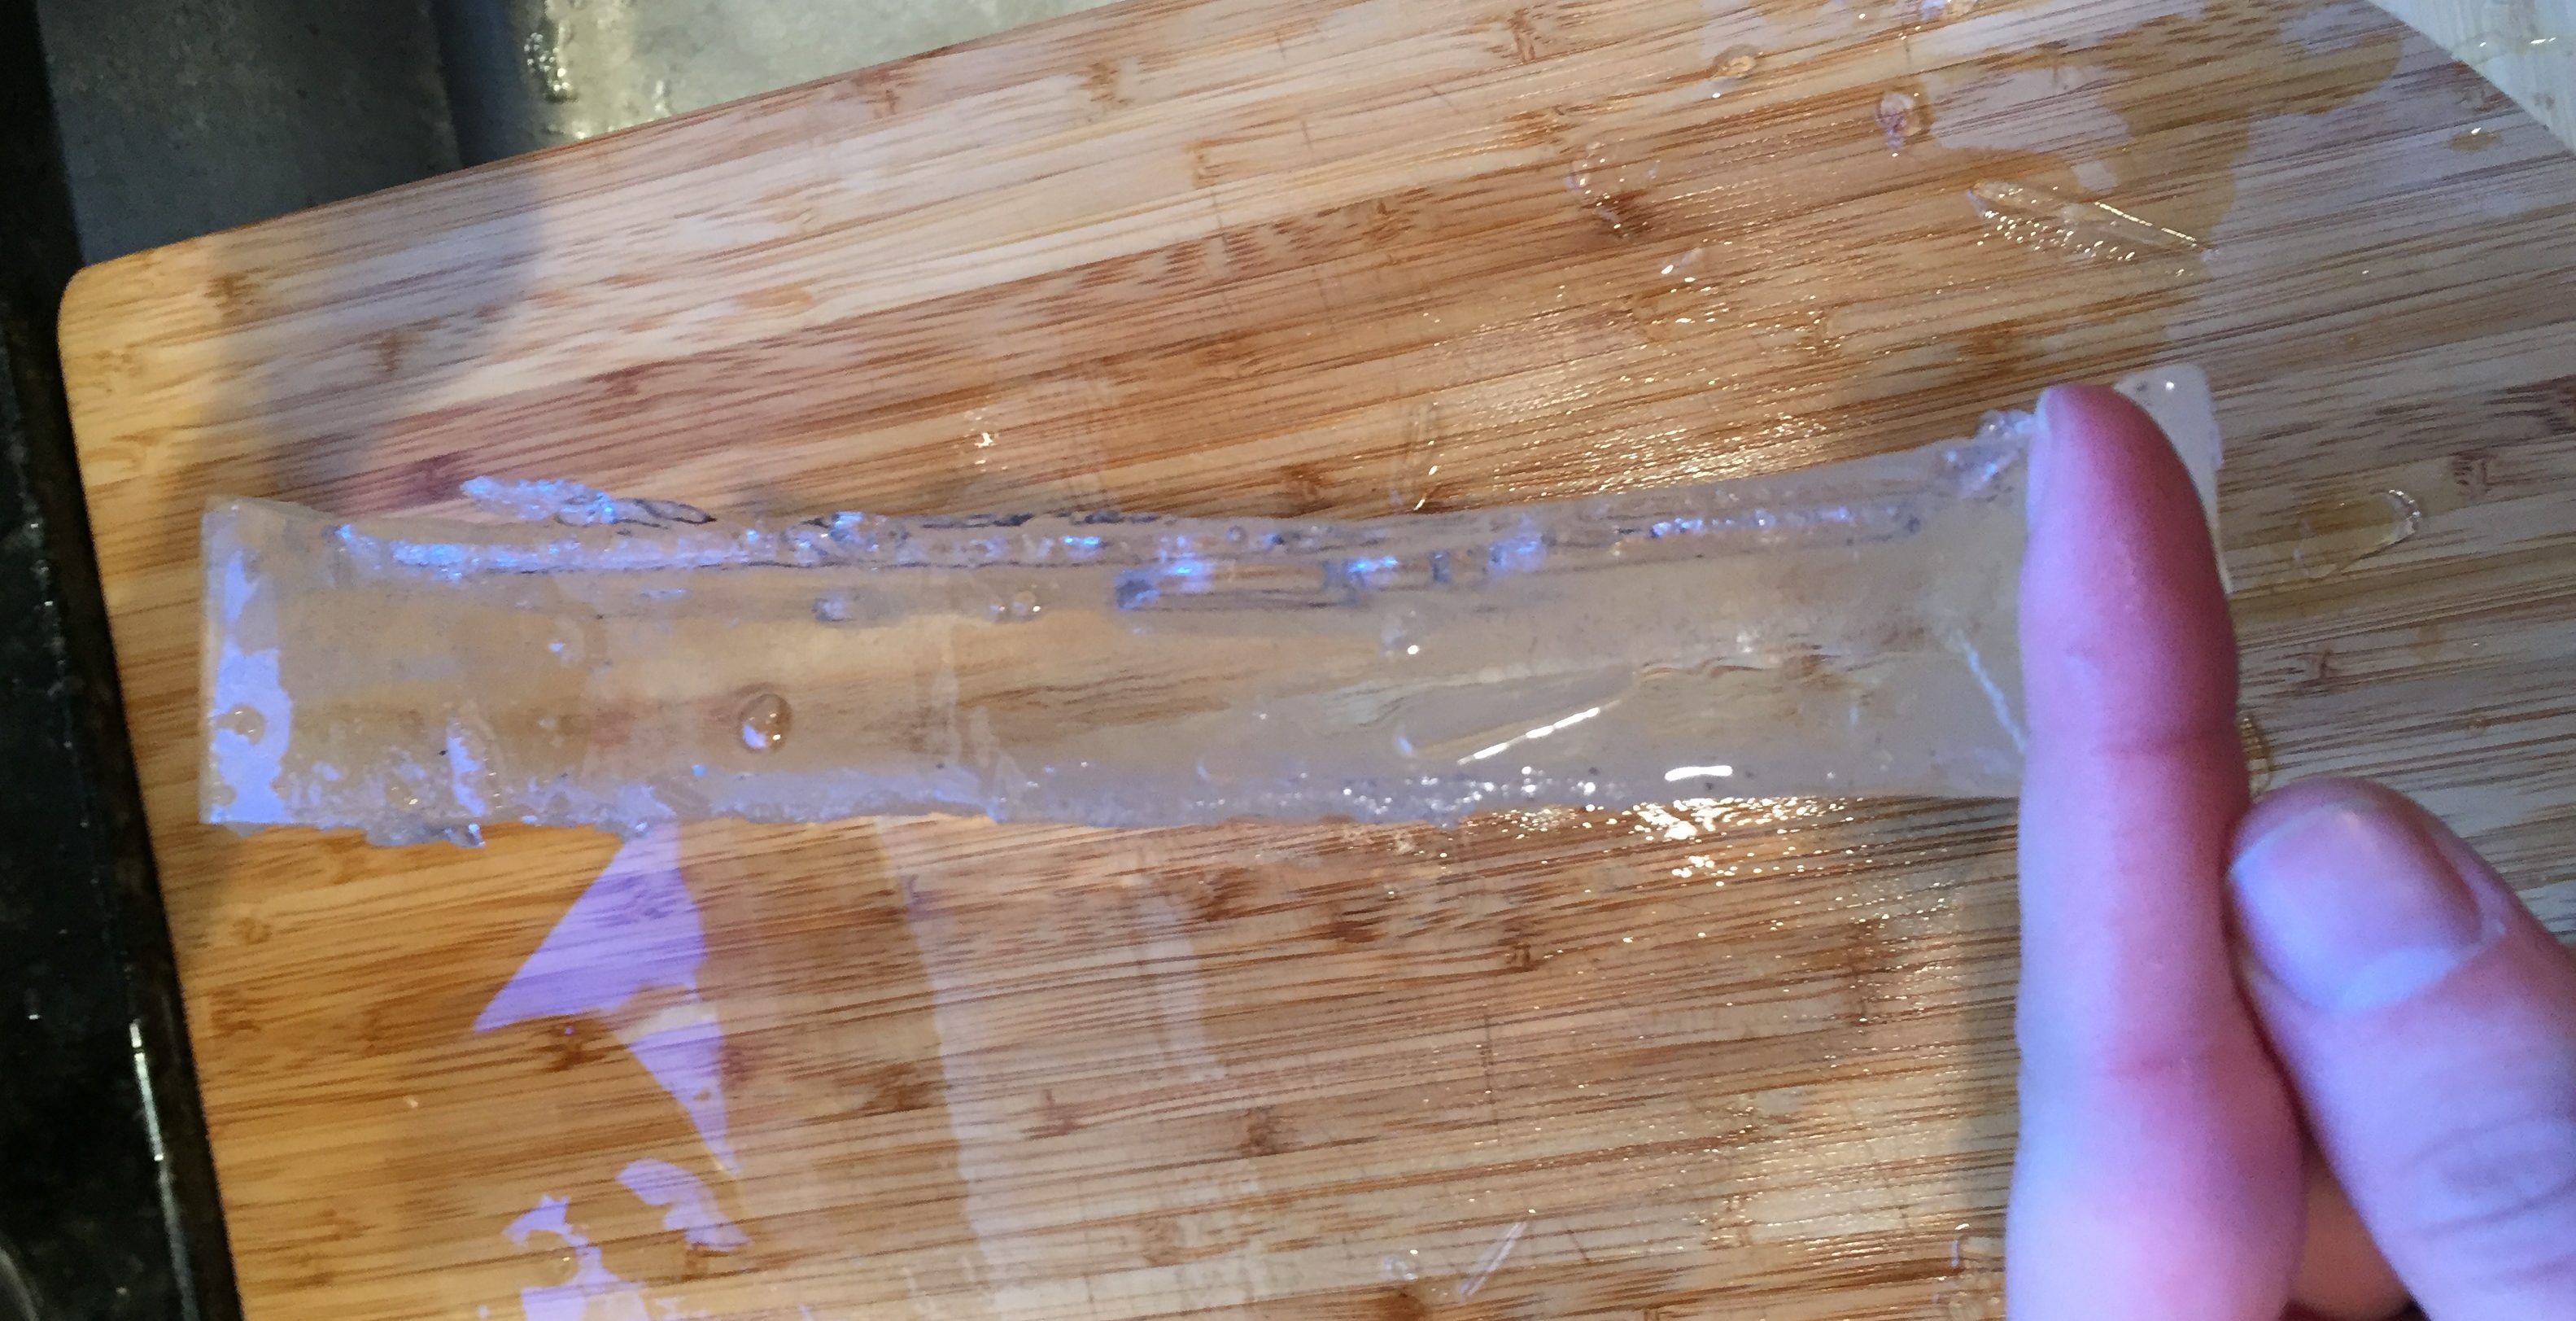
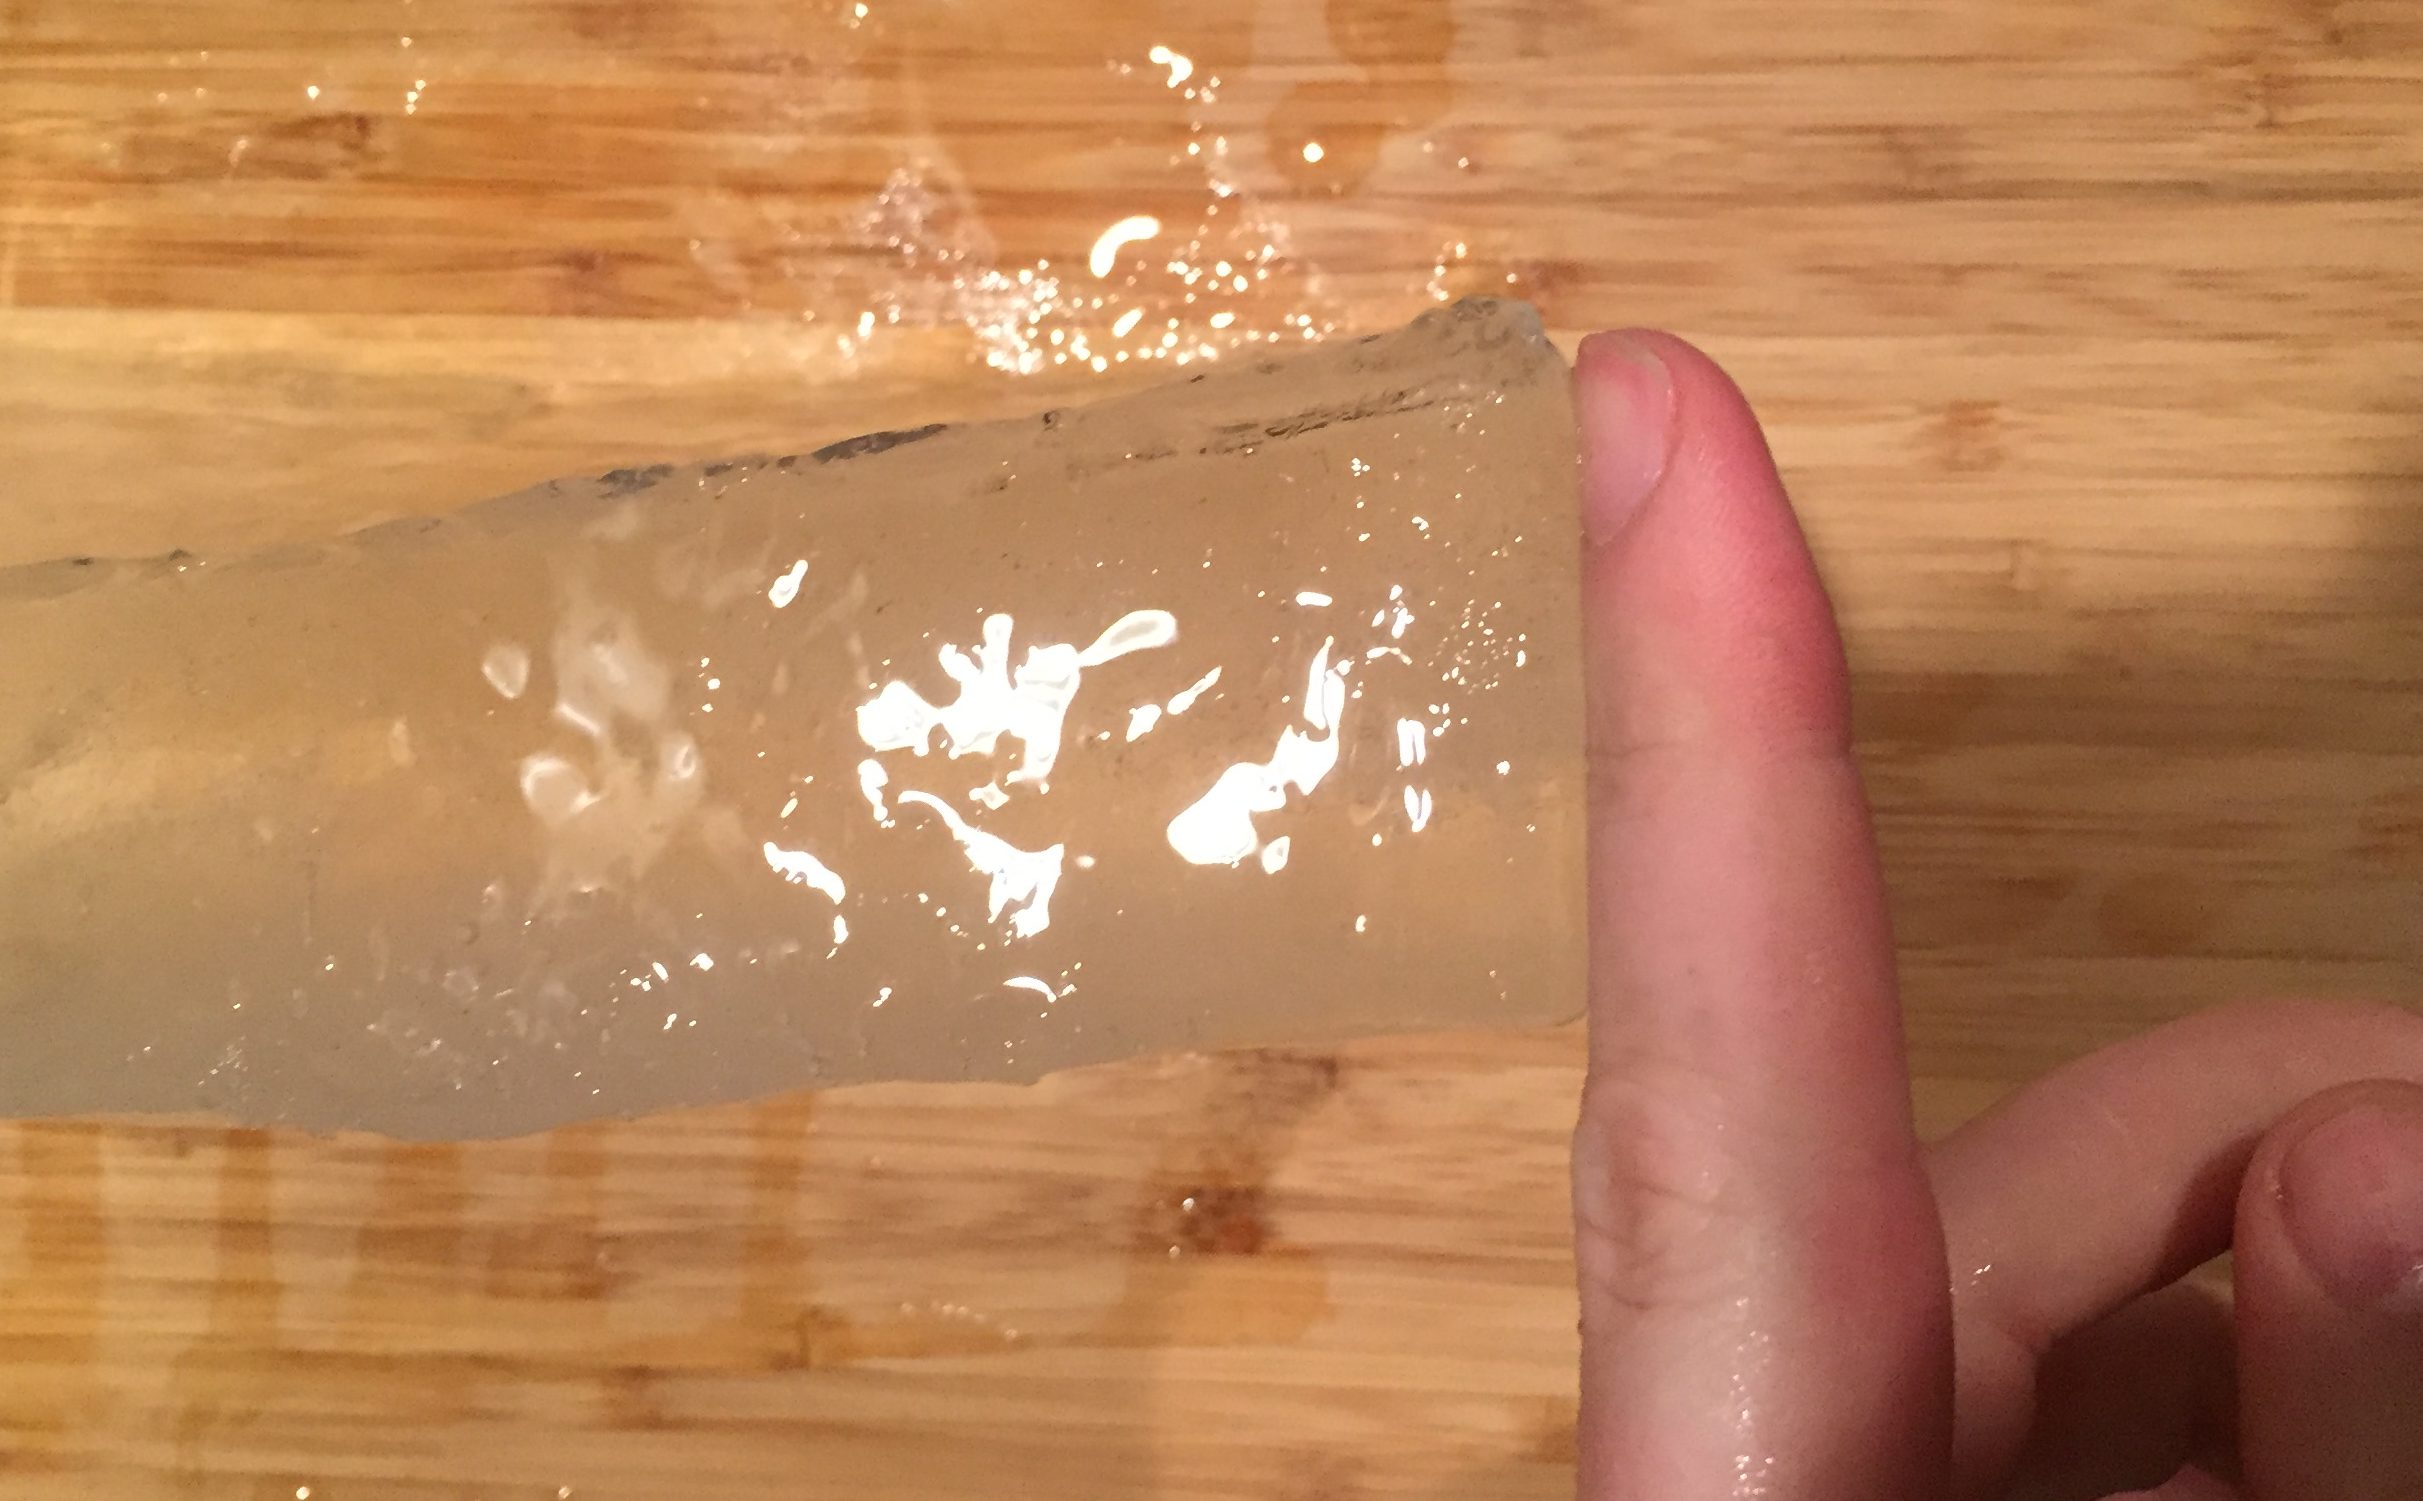
In my first attempt at the 28 hour mark the ice was a hair over an inch thick. Not as thick as I wanted but it was pretty darn clear with the exceptions of the bubbles I caused myself…
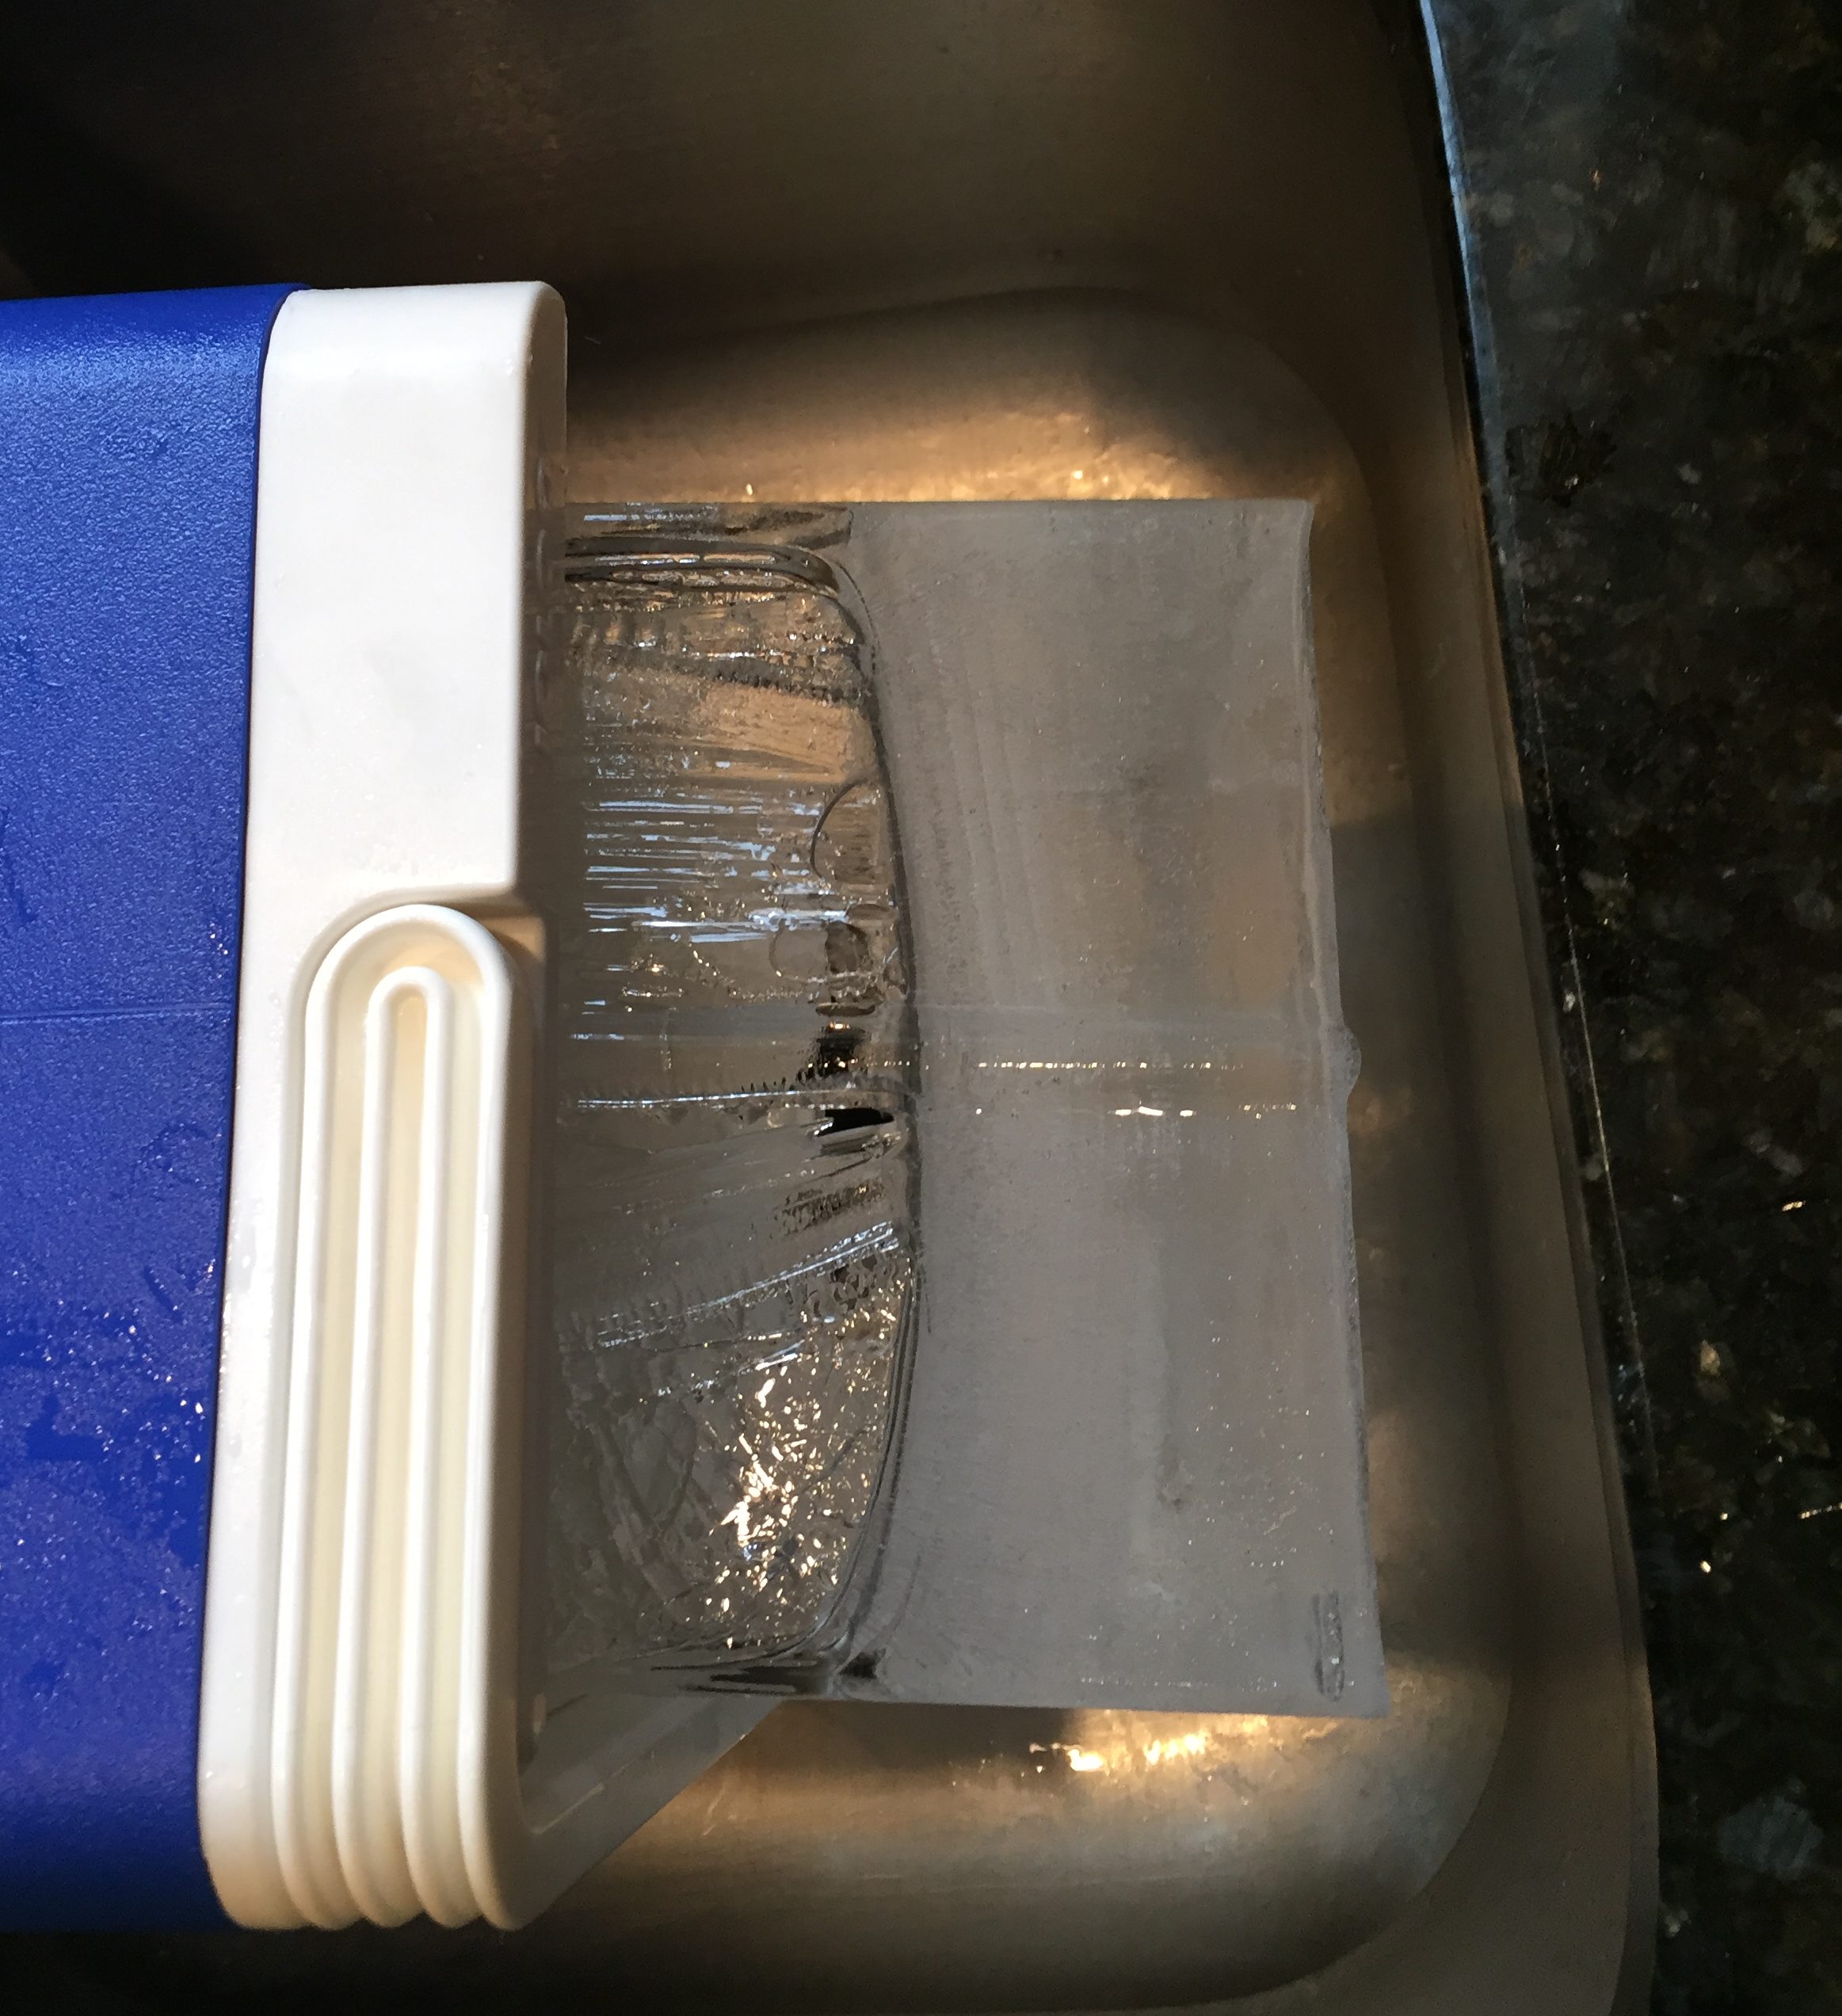
So on the next attempt I let it stay in there for 34 hours. Here you can see me taking the block out of the cooler in the sink. Once you get the ice moving it will want to slide right out of the cooler.
I ended up with a block that was about one and half inches thick…
Still not quite what I was looking for. So this last time I left it in the freezer for 40 hours.
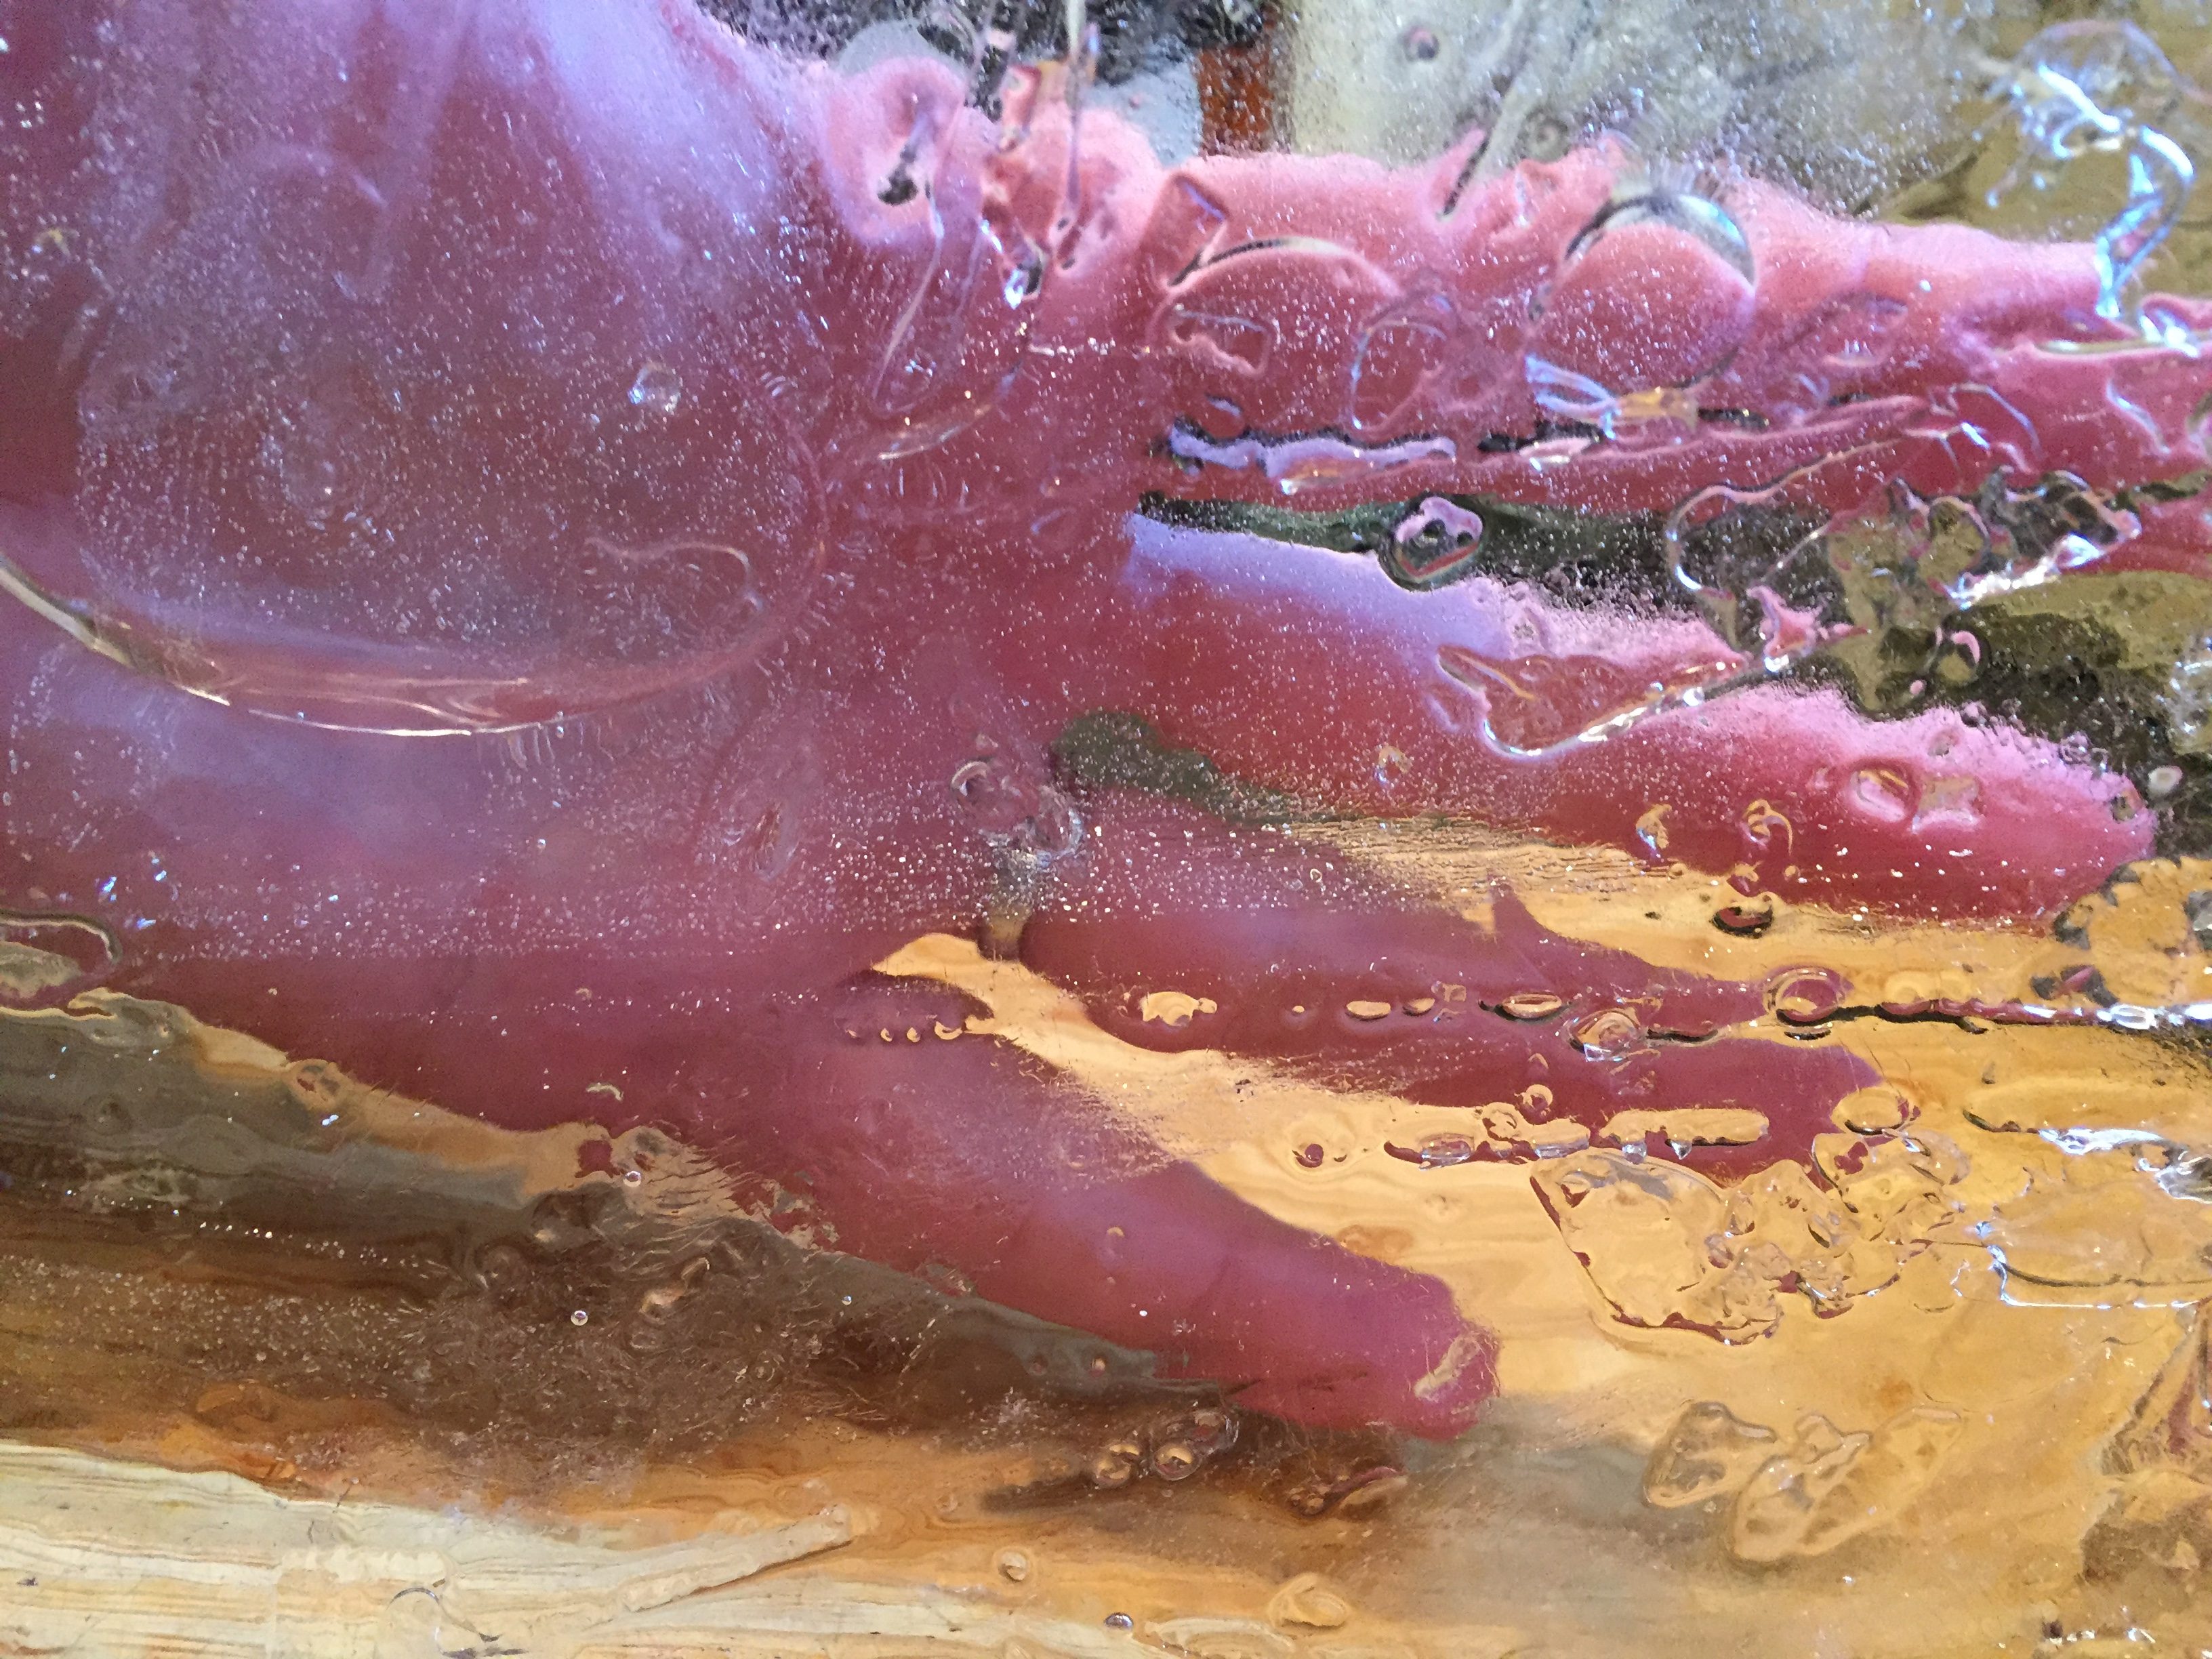
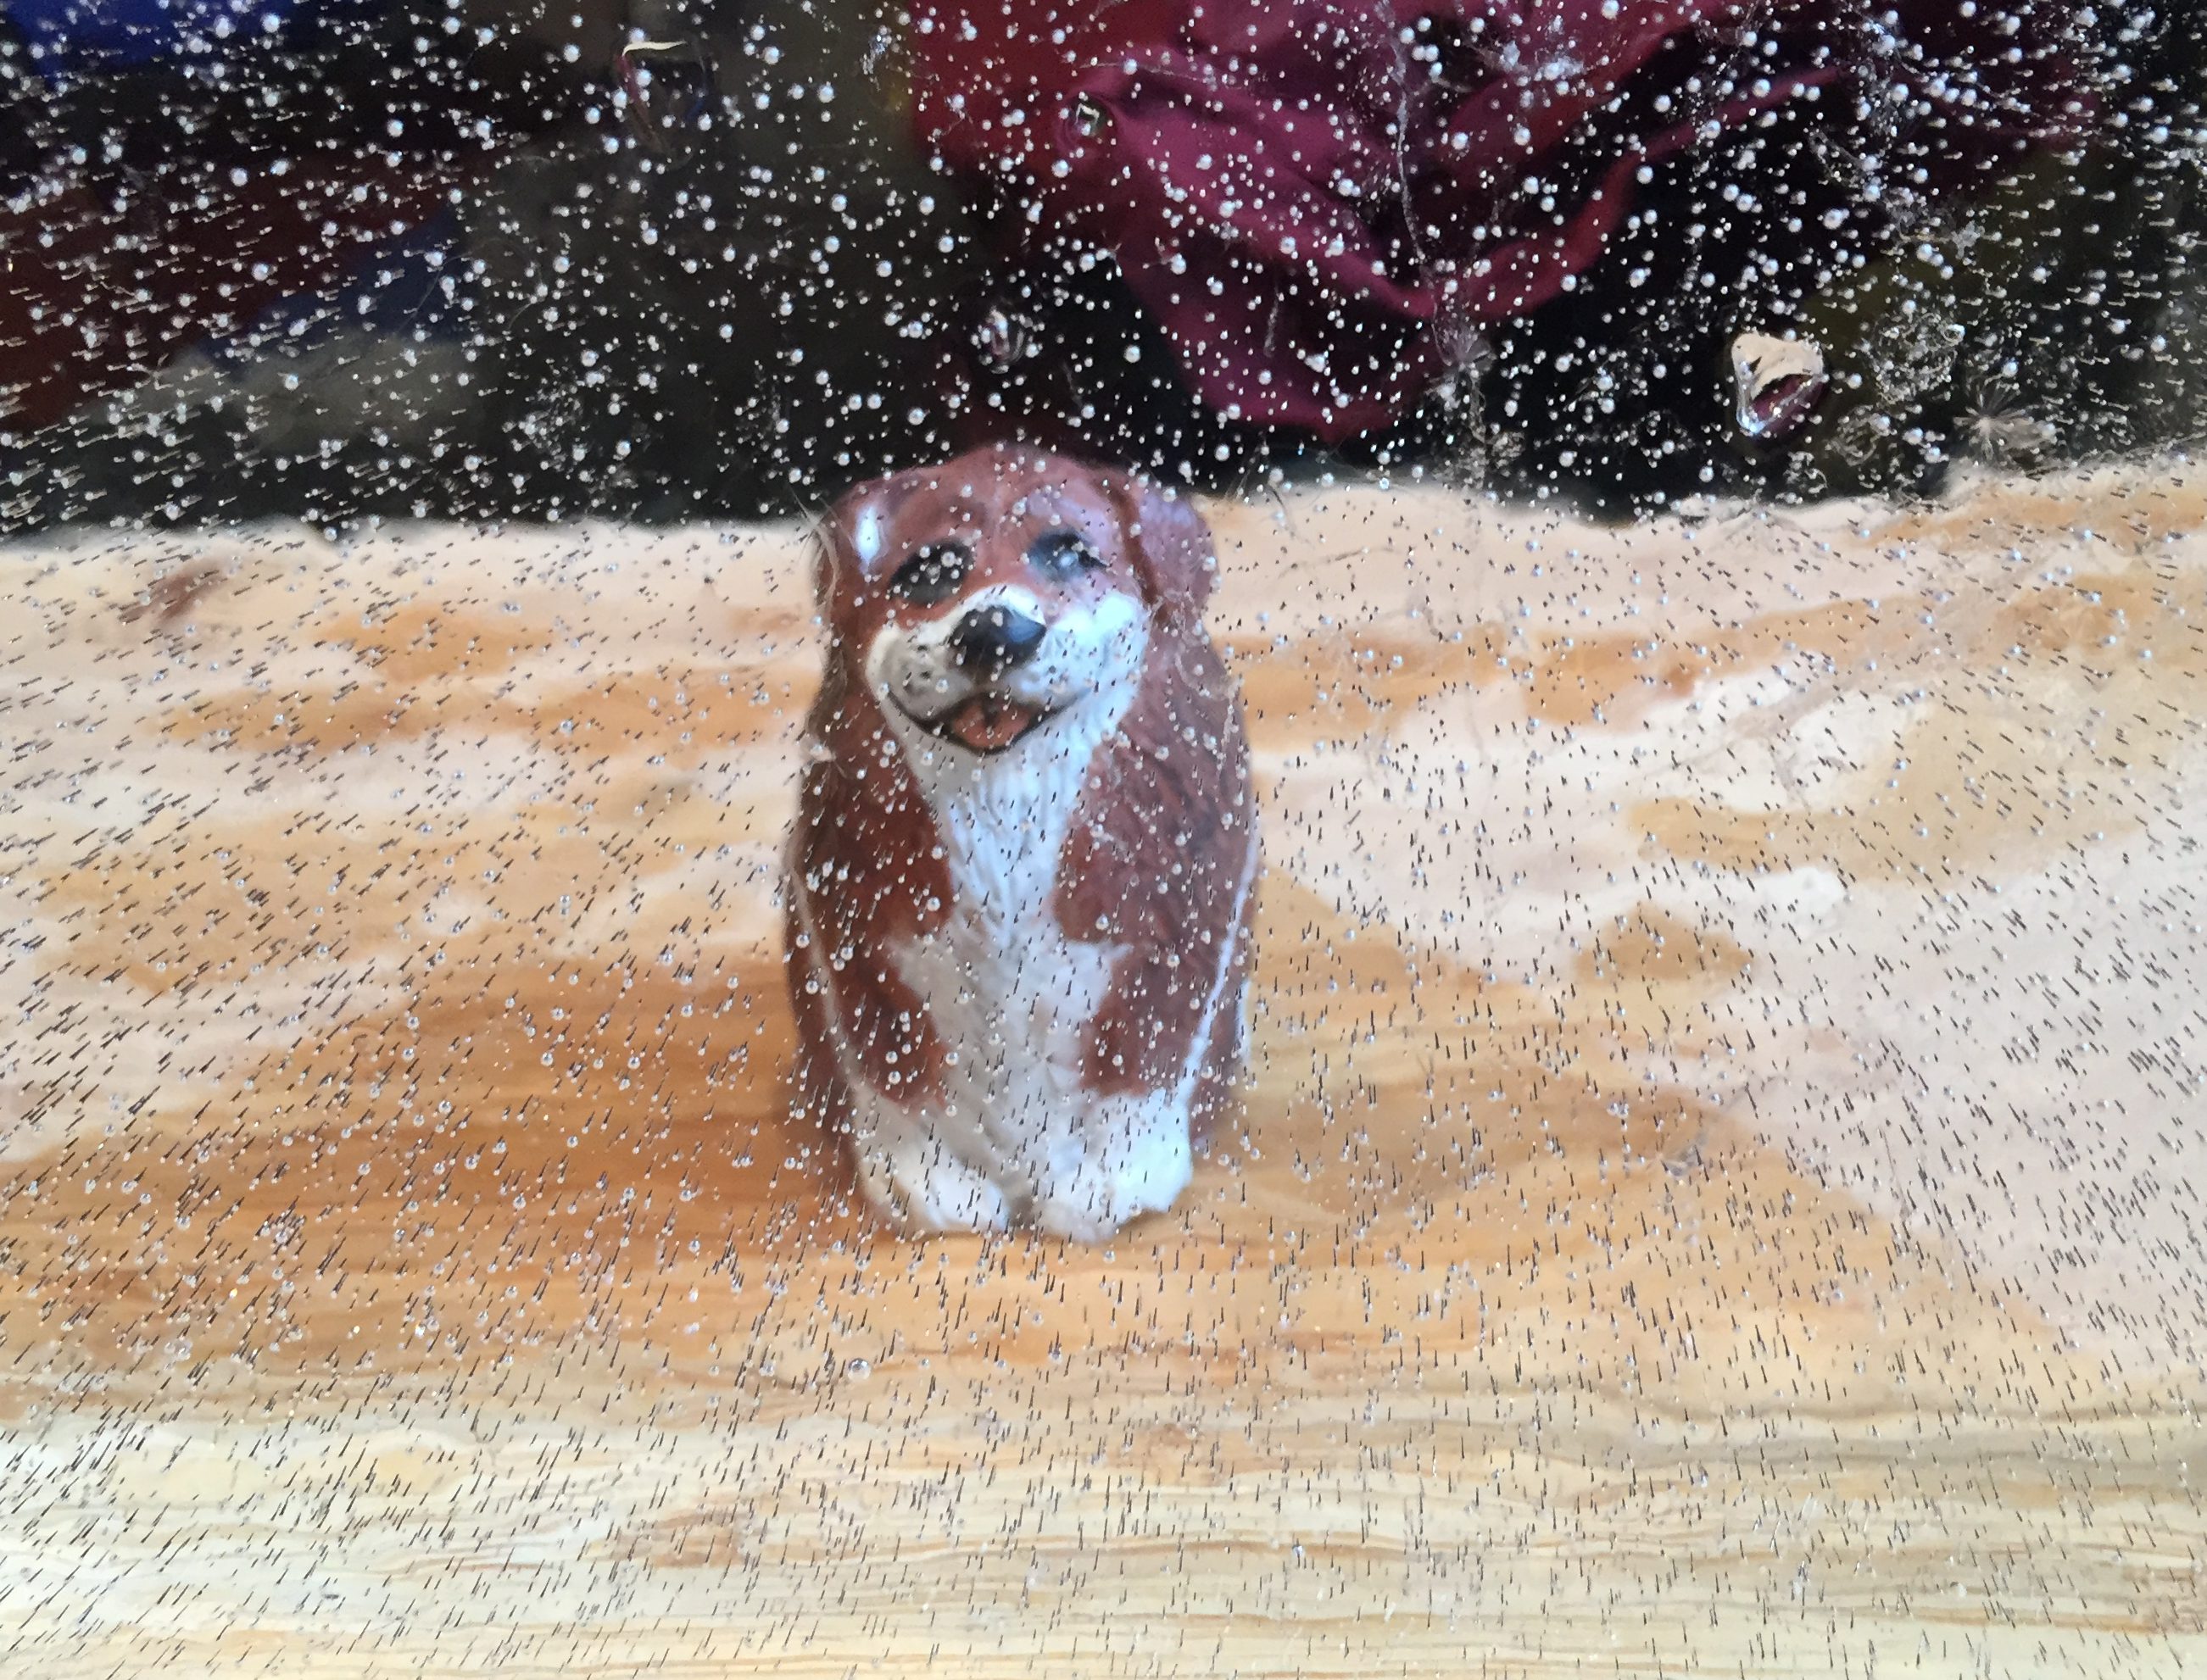
This time it was over 2 inches thick. However – the ice was super clear on top – and cloudier toward the bottom. You can see it better in this picture one I removed all the scrap ice from the block…
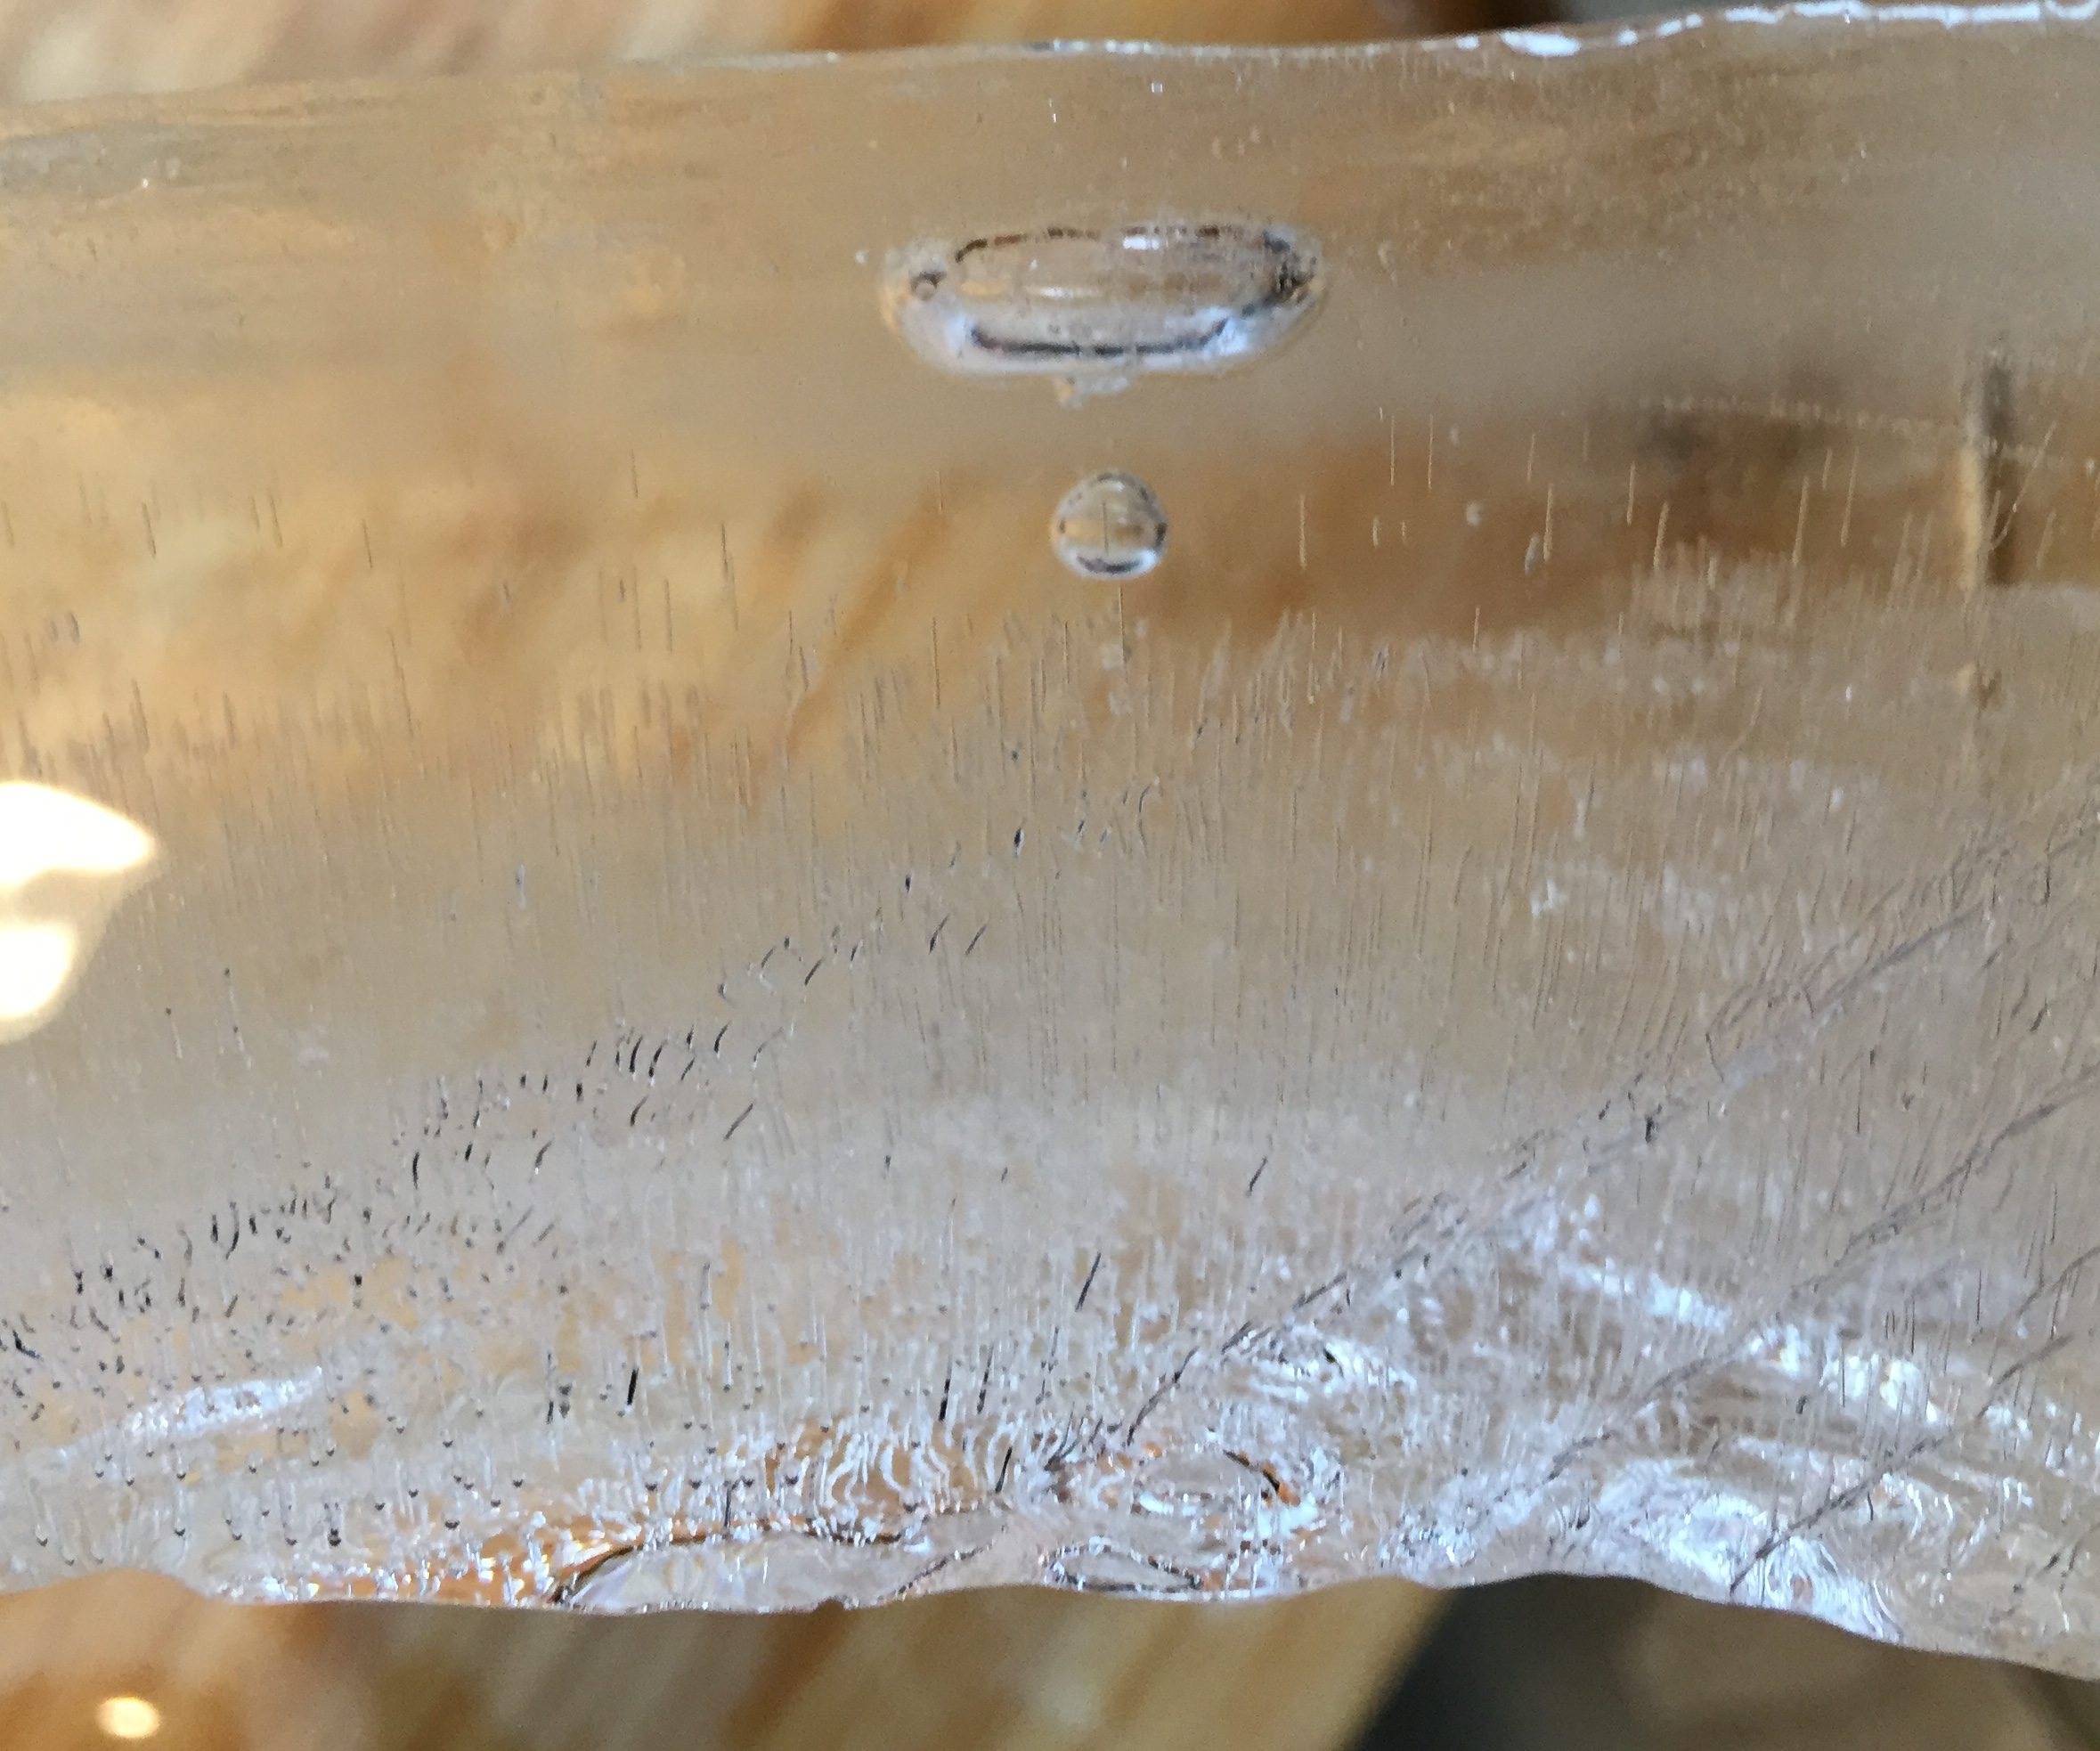
This is the directional freezing taking place. What’s weird is that my previous two blocks were 100% clear. By using this tiny toy dog you can see the specs in the ice more clearly (woof)…
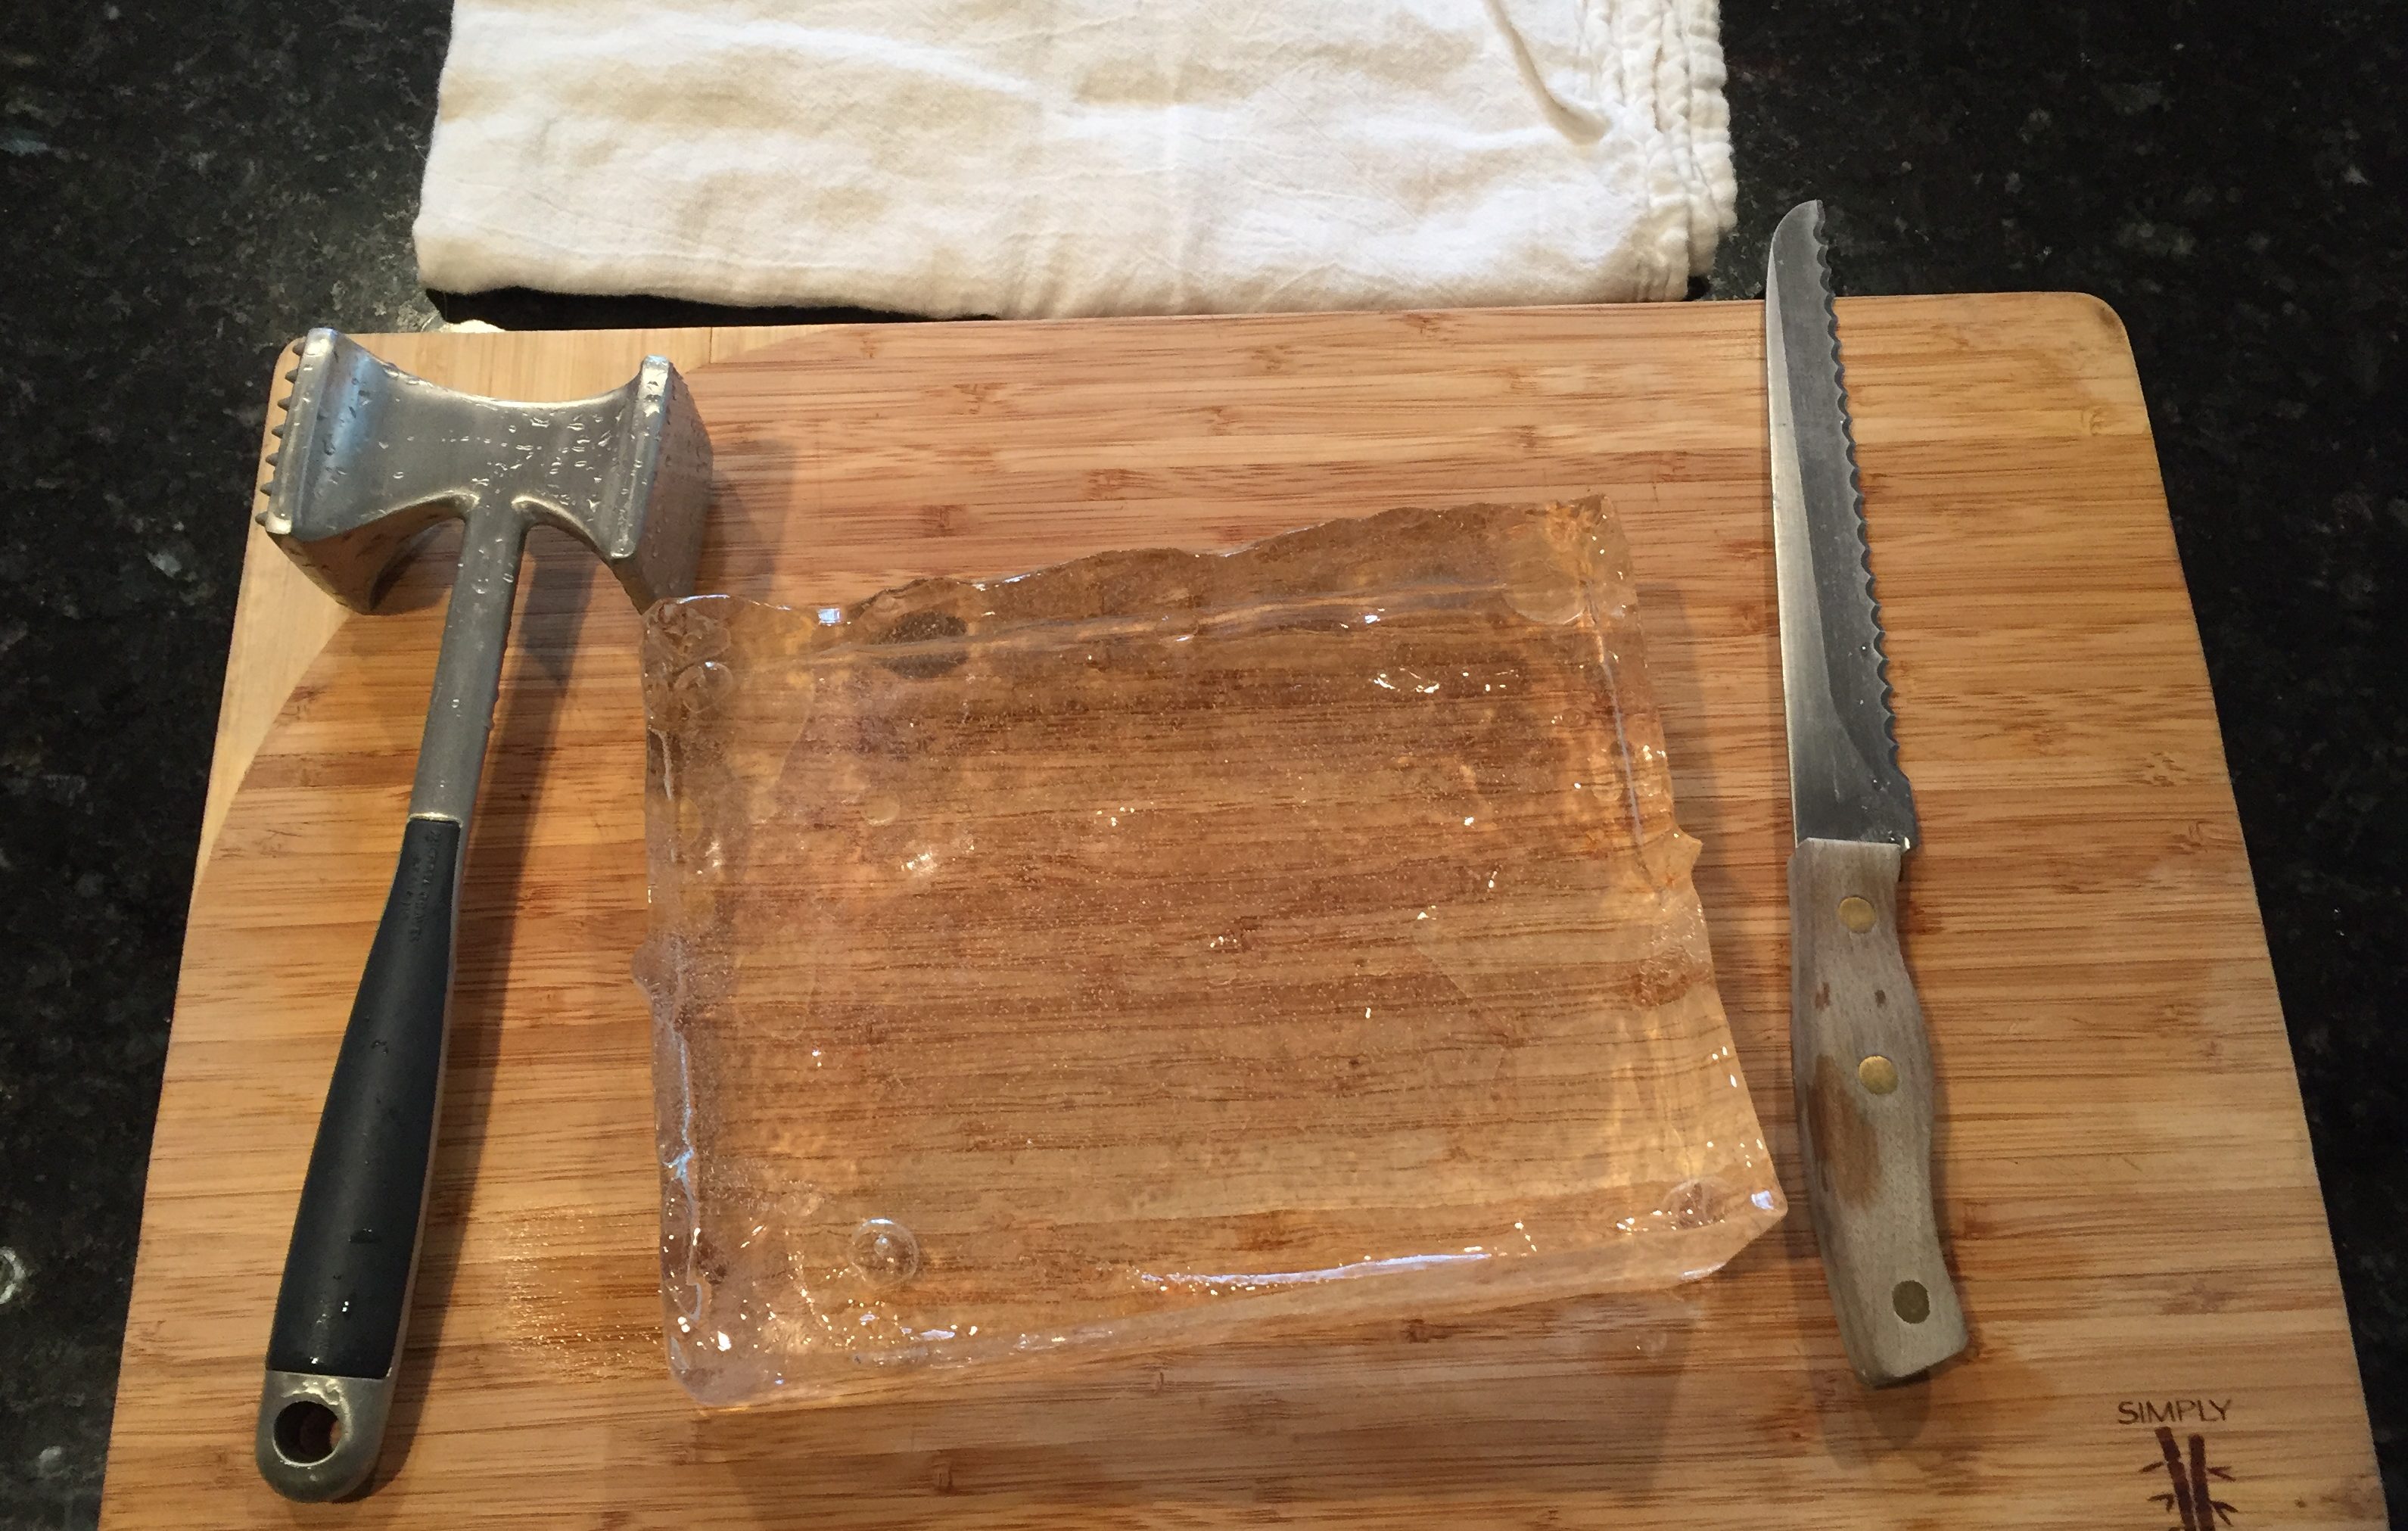
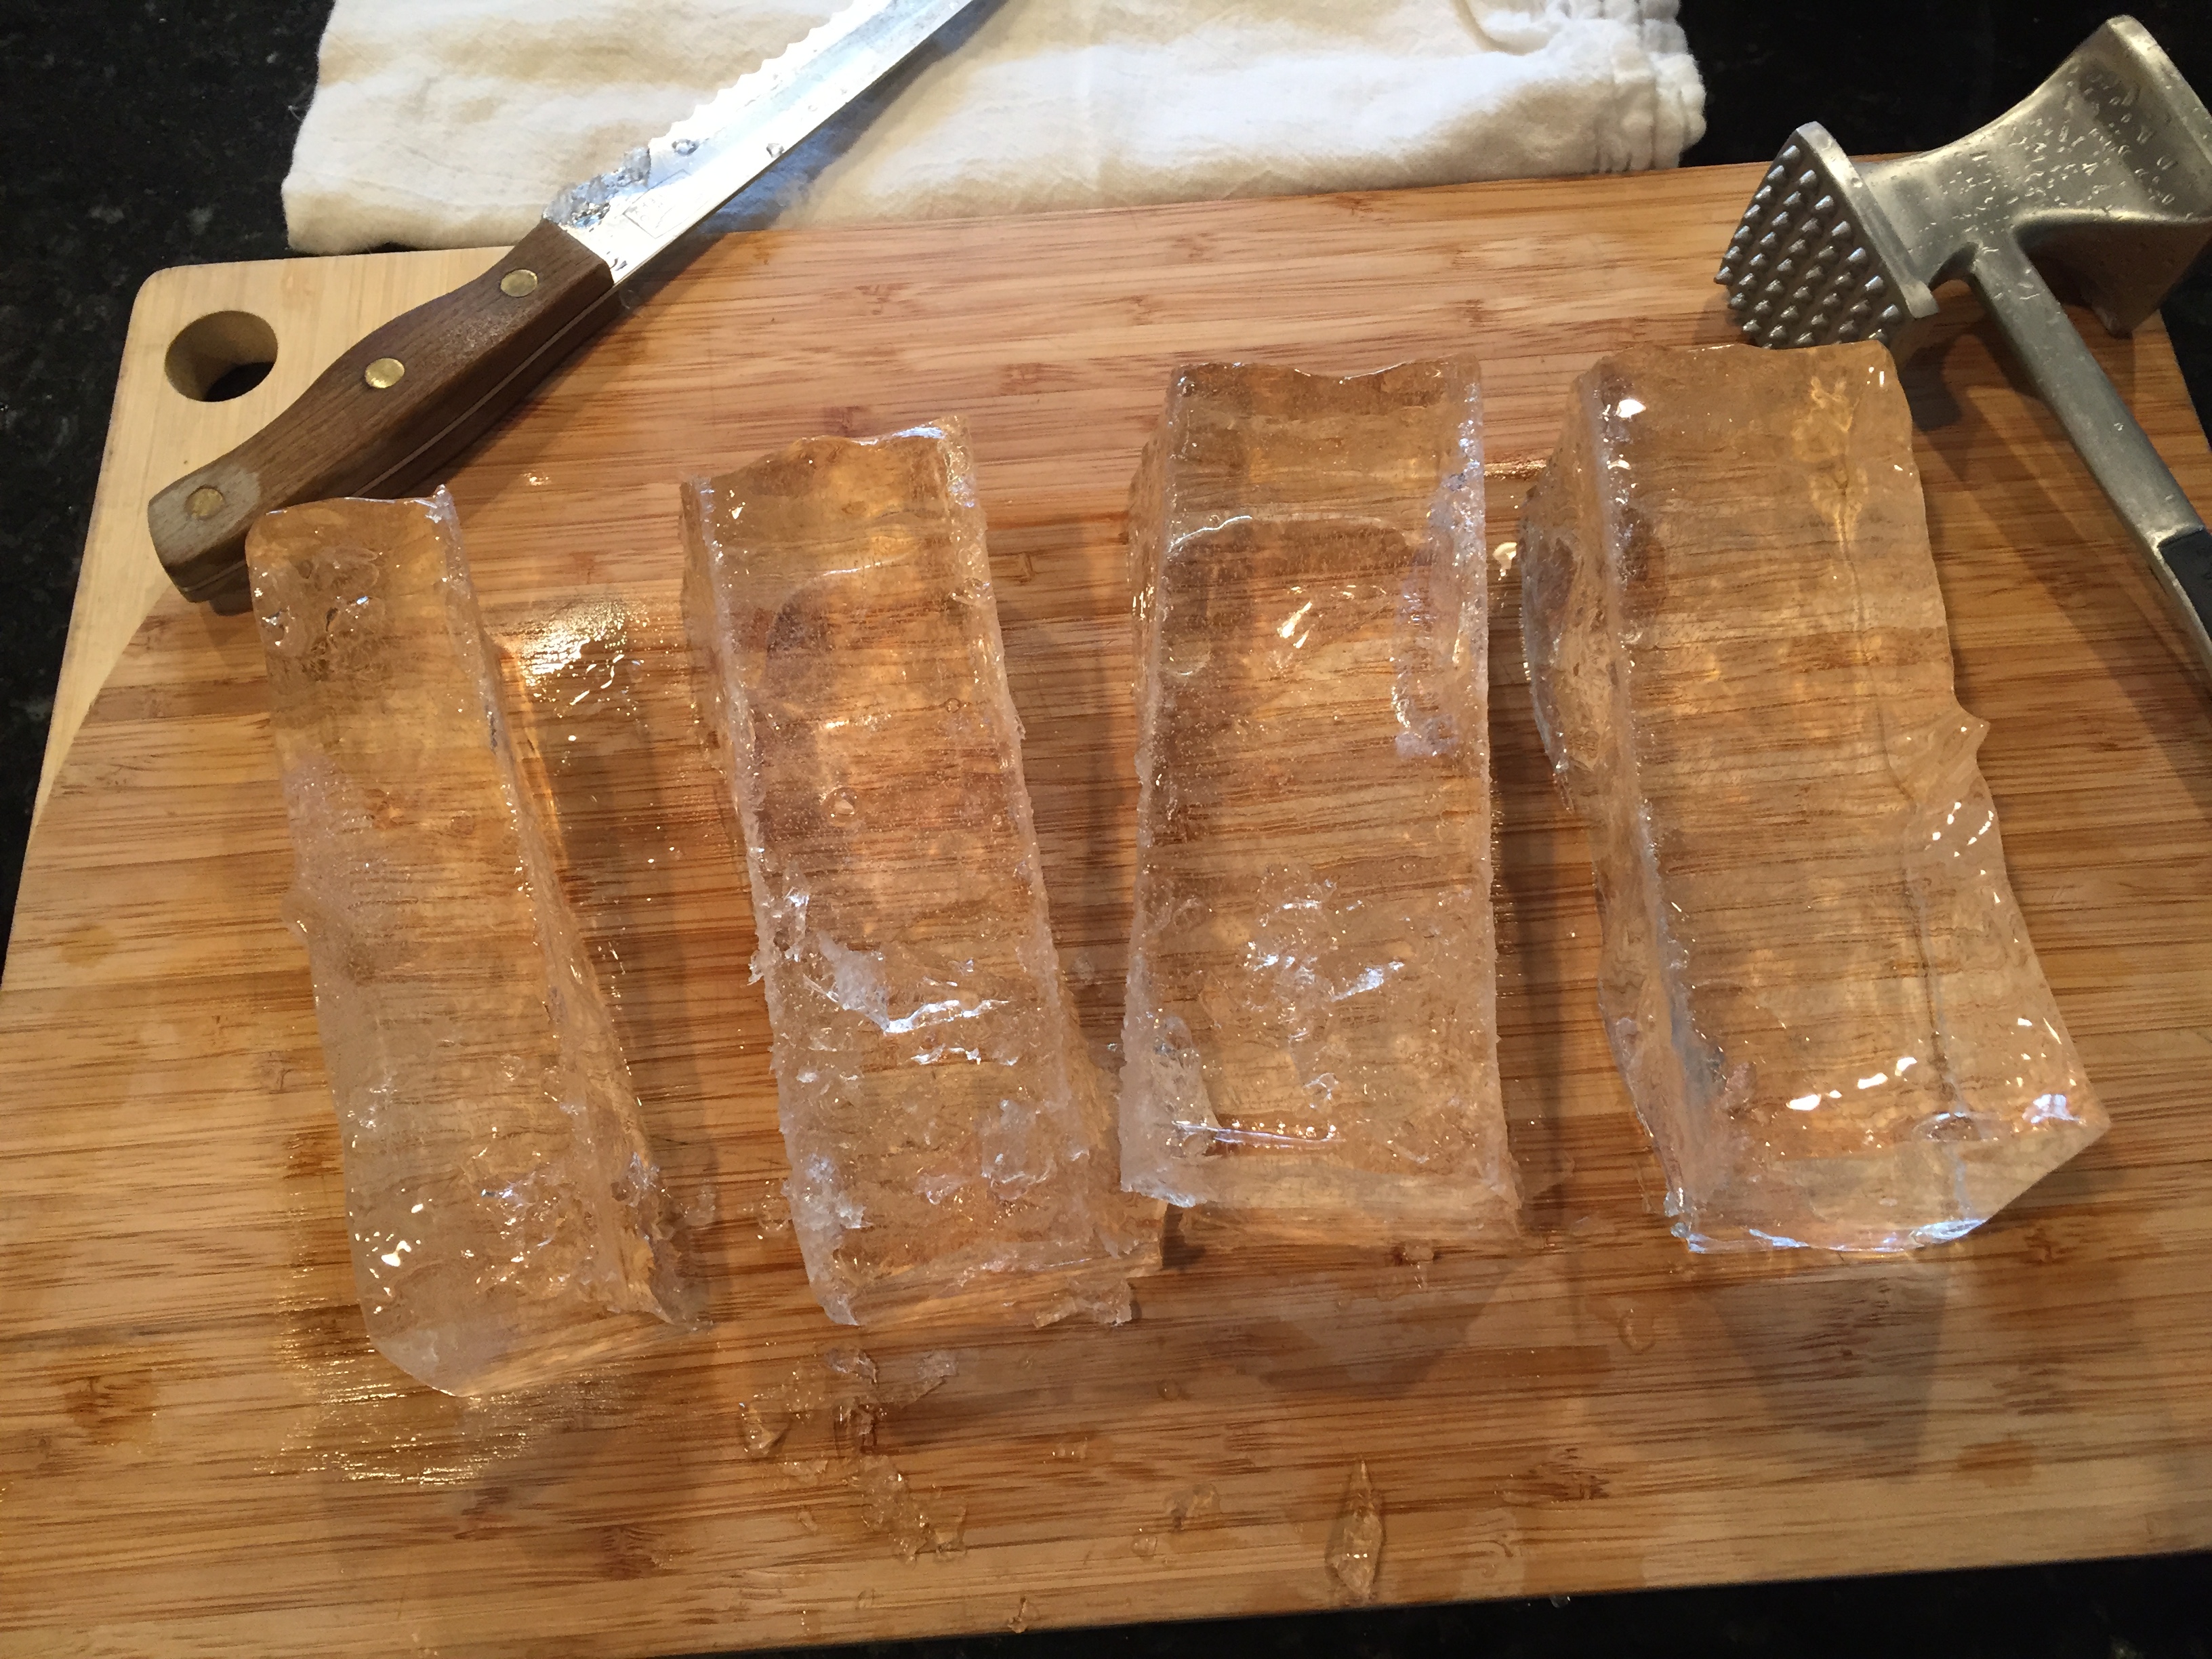
So it’s pretty clear – but not 100%. A little disappointing – but Im going to try a couple more things to see if I can get it 100% clear. For now – let’s move onto making our ice cubes using this block. You’re going to want a cutting board, a serrated knife, and a hammer of some sort. I also keep a towel handy to deal with any water that is generated.
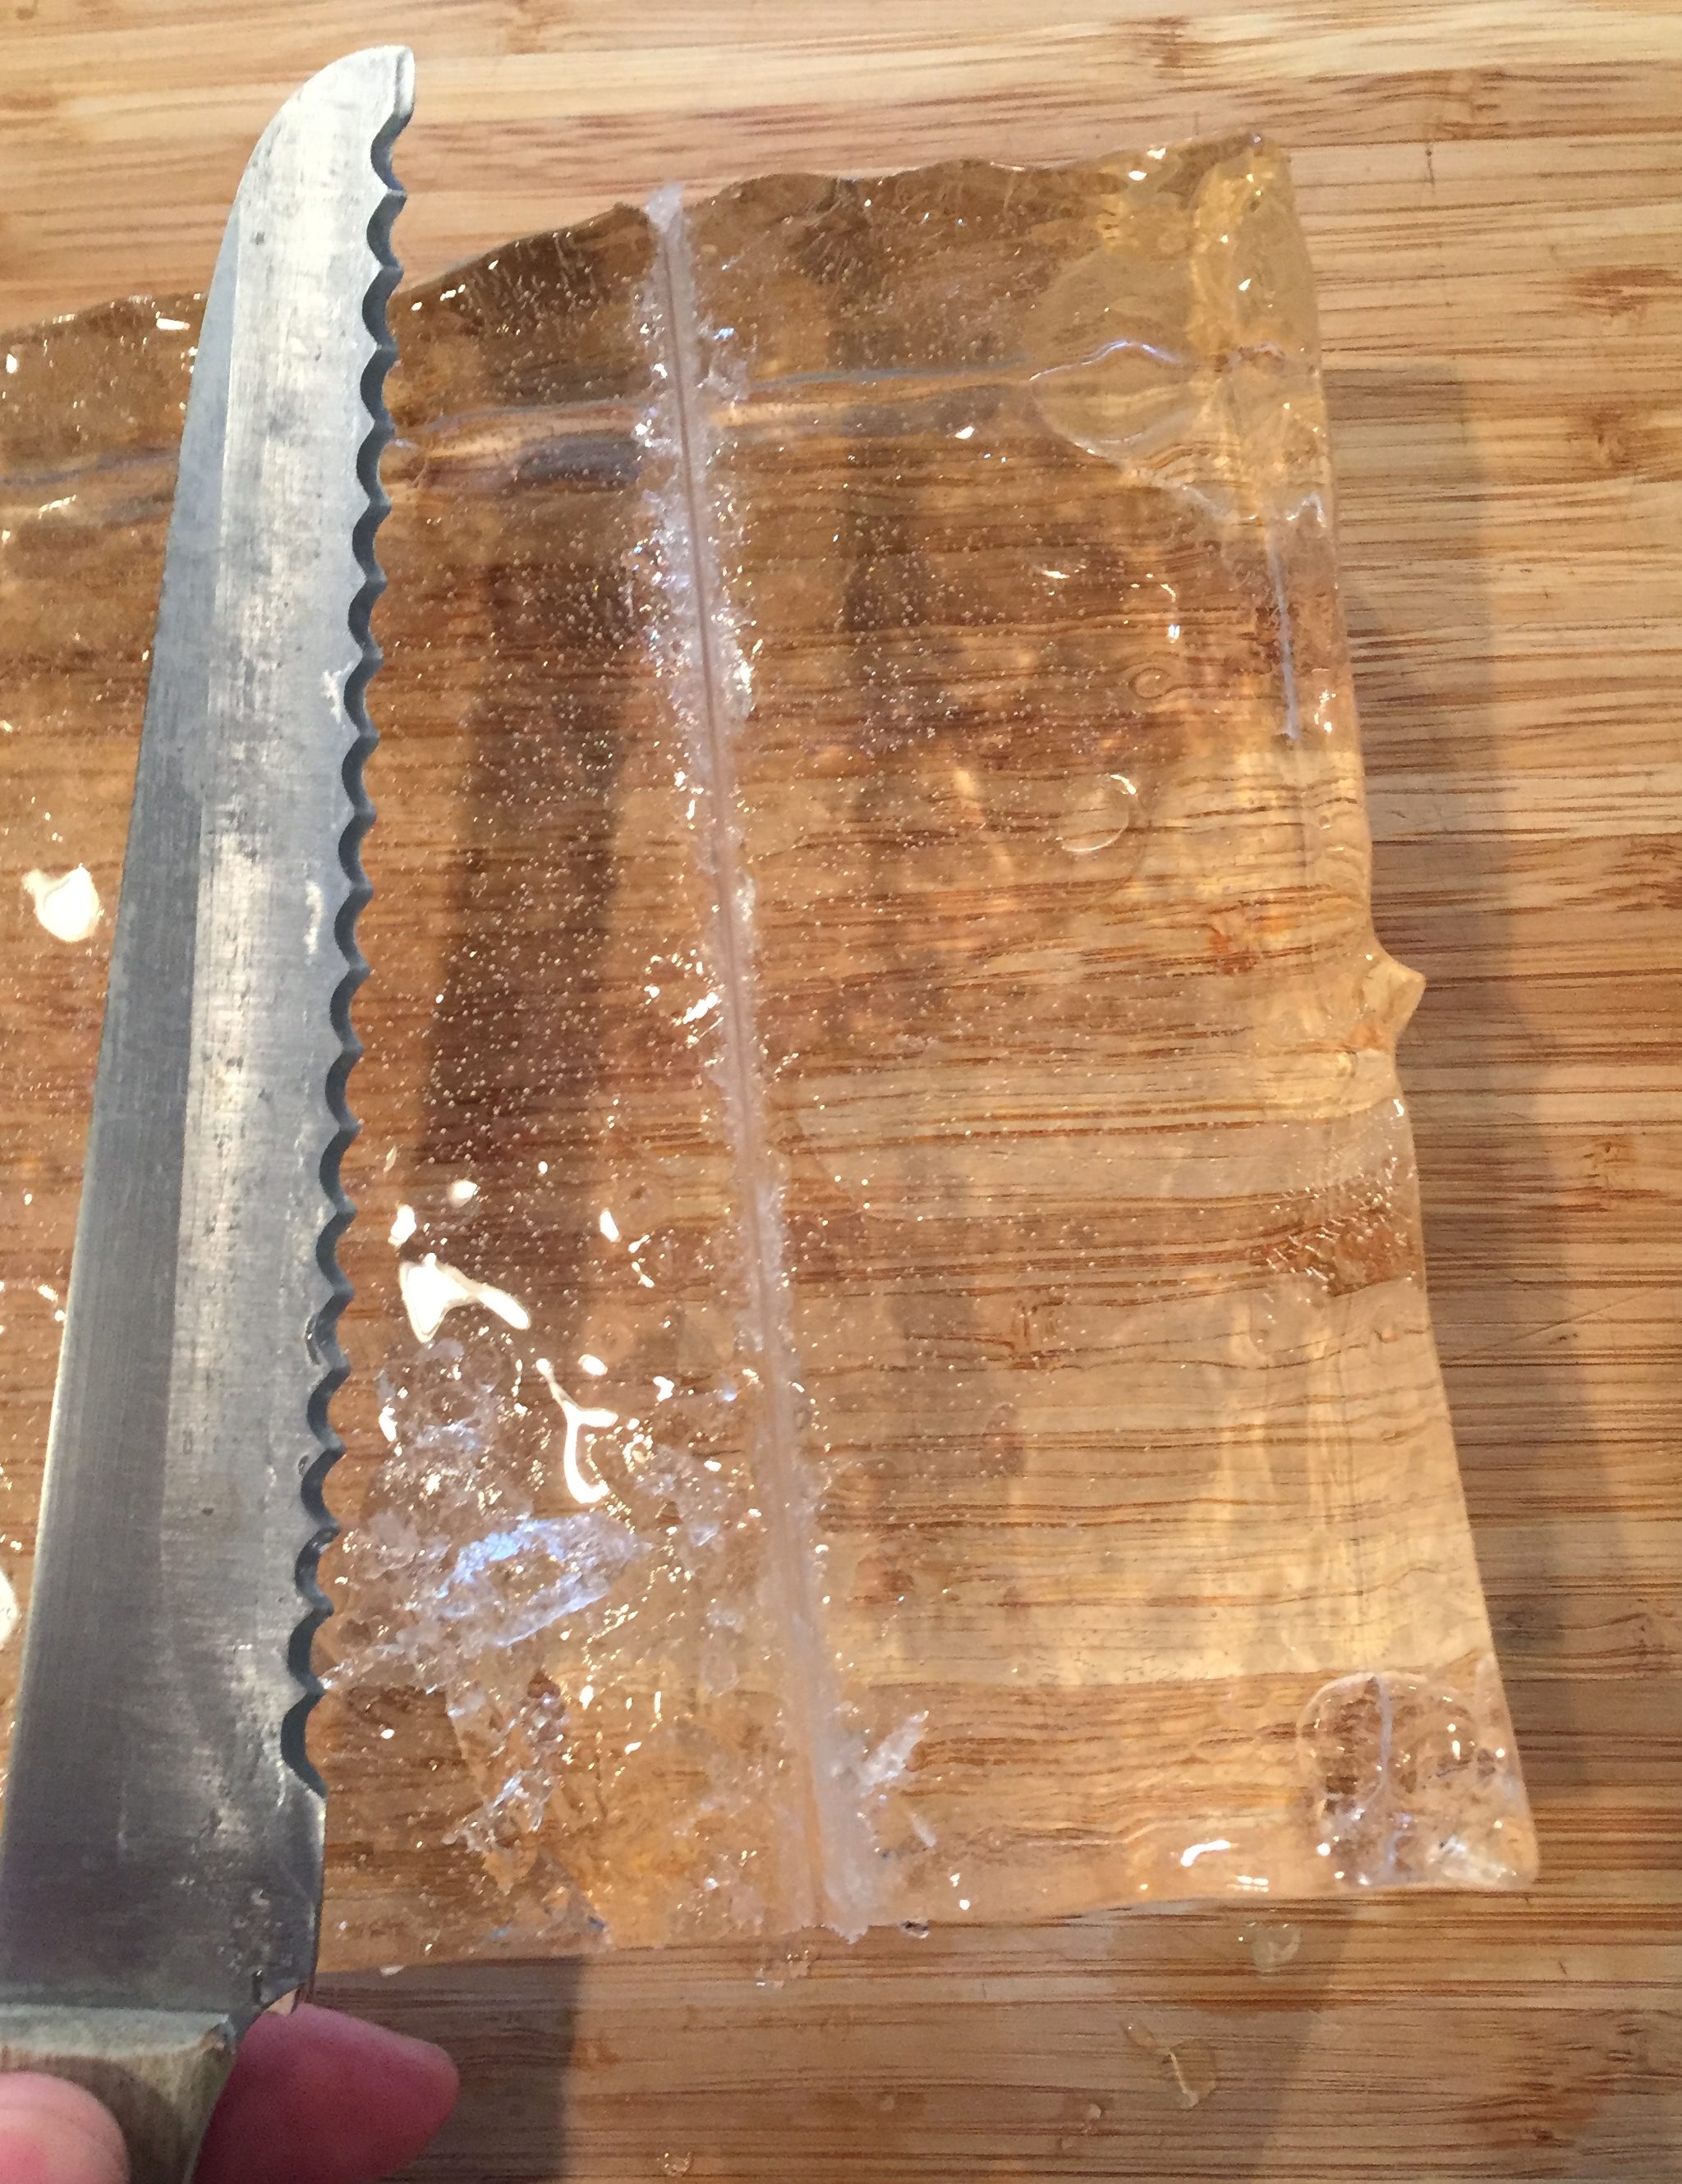
The first thing to do is to cut the block into strips. To do this, score the block with the knife, sort of like you’re trying to cut the ice like a loaf of bread…
Then with the knife still in the groove you’ve made, gently tap the top of the knife with the hammer. The strip should chip right off…
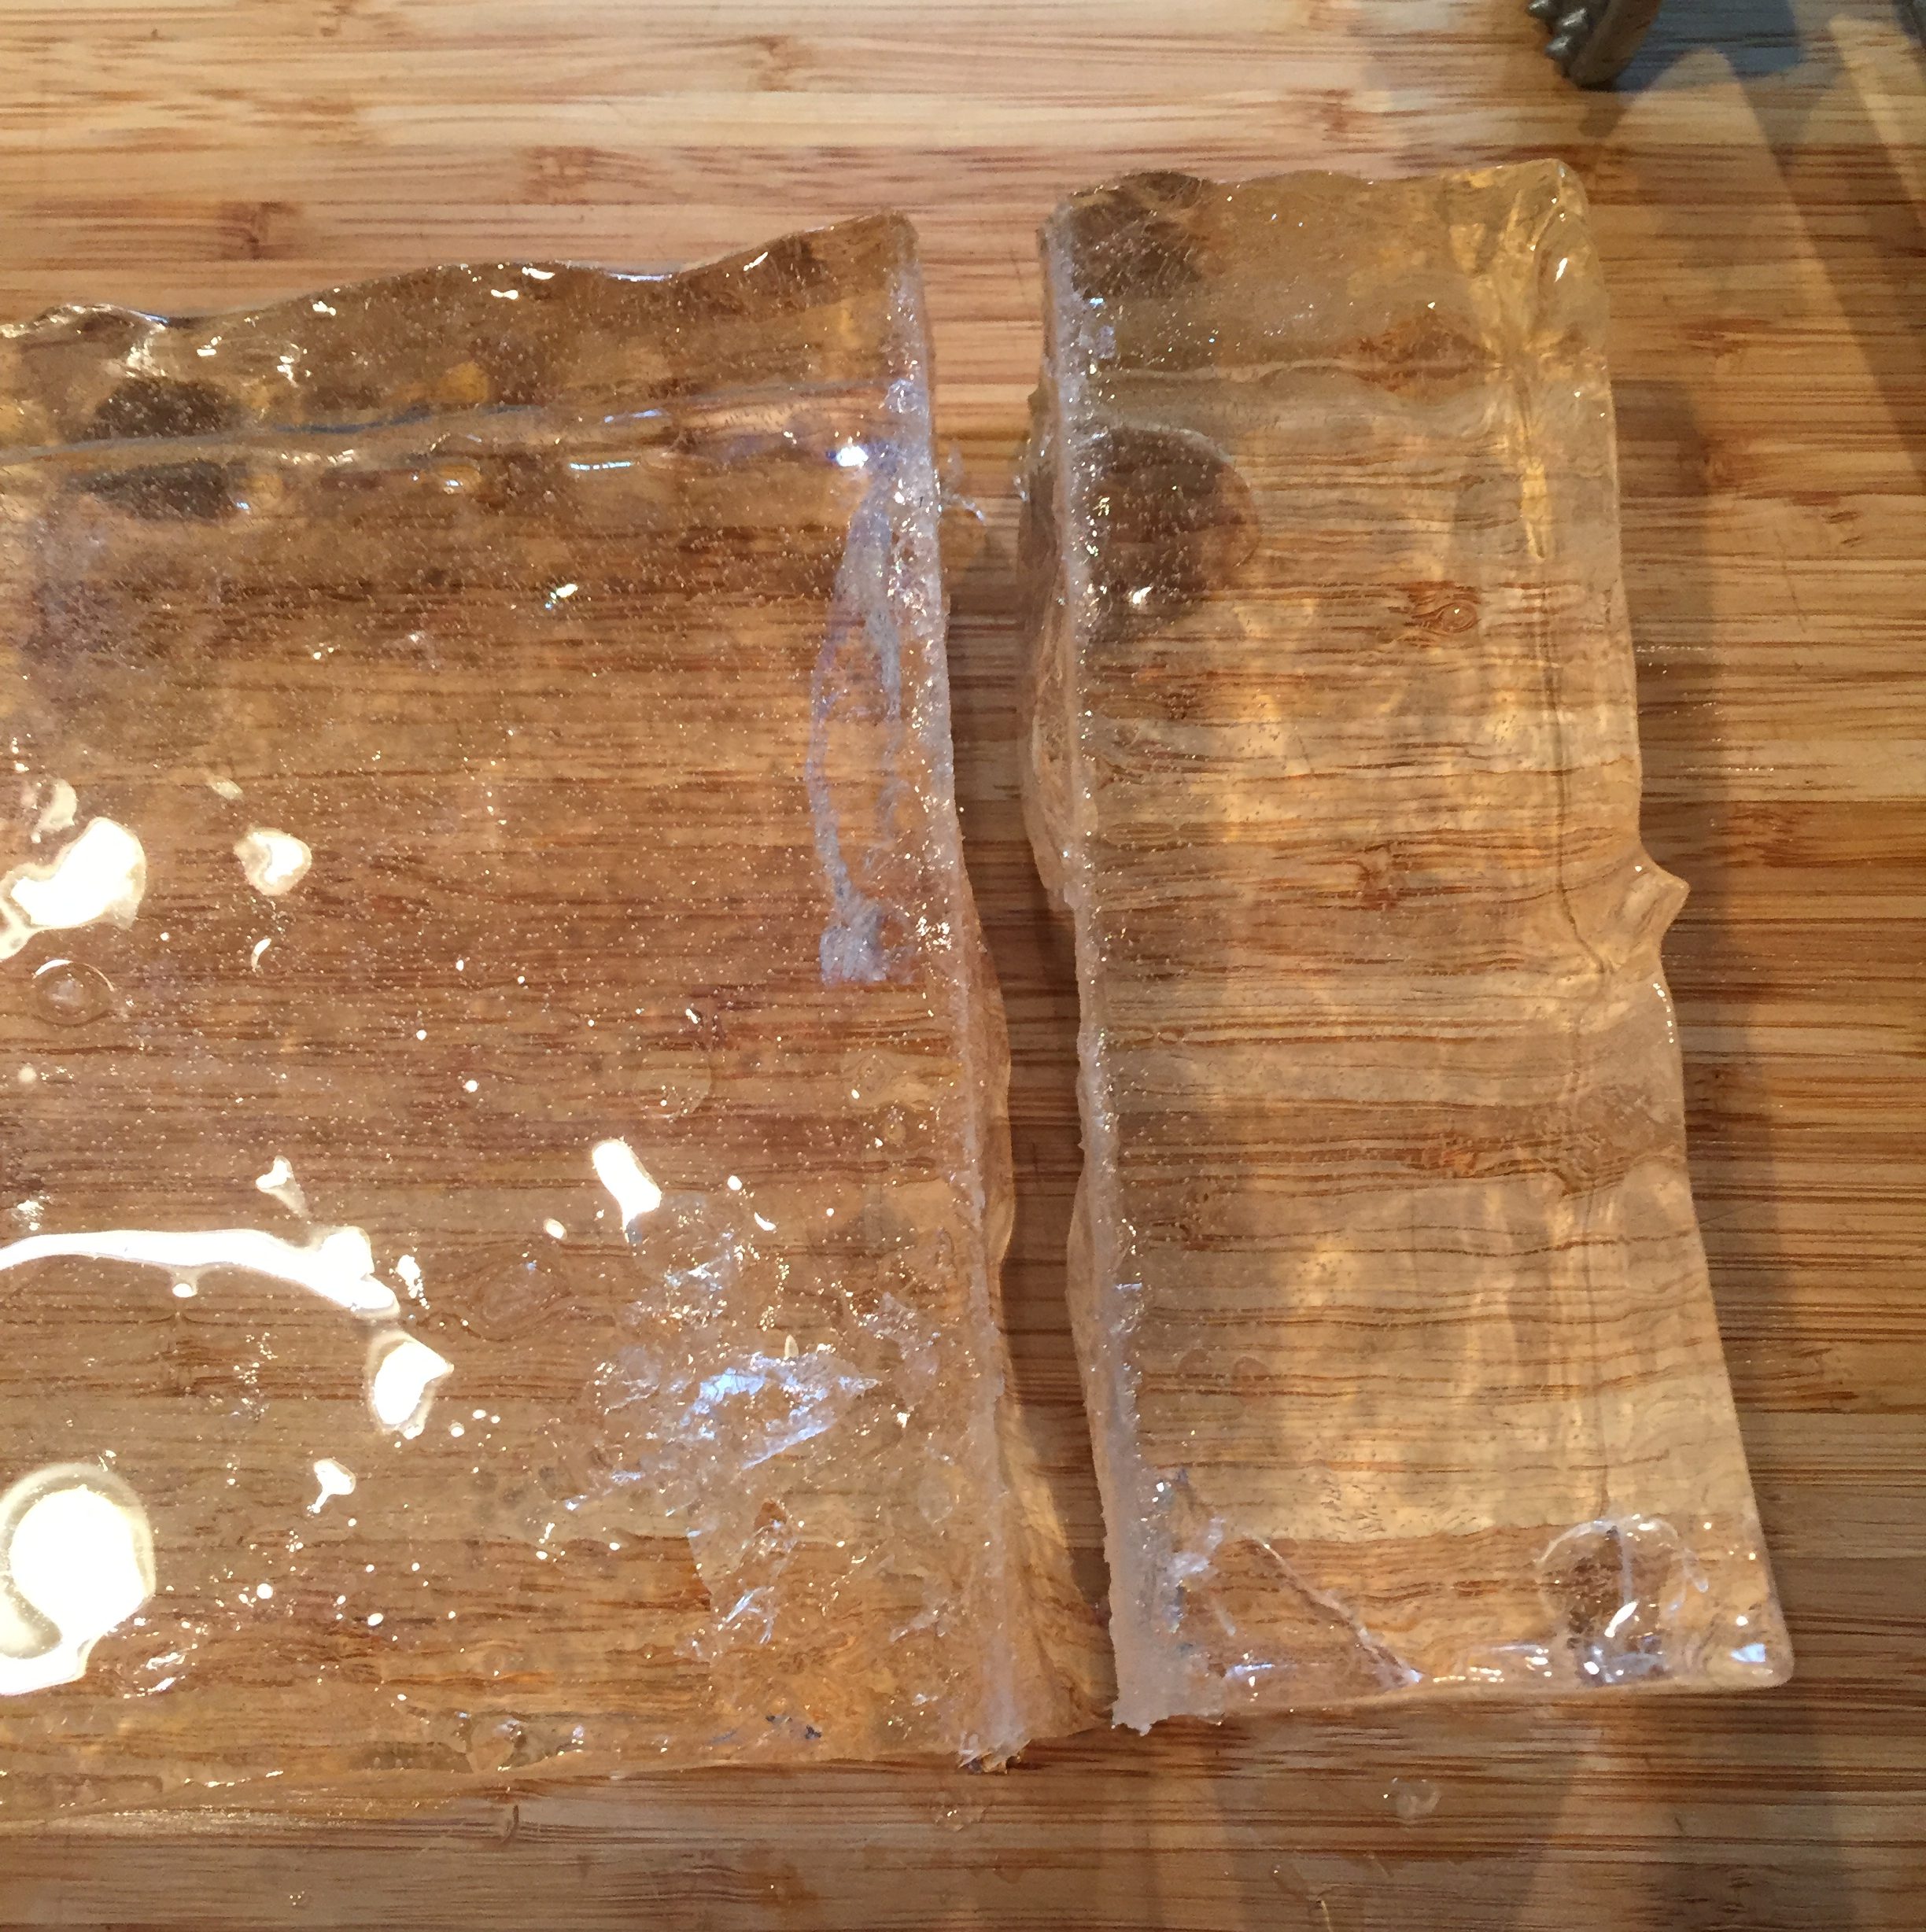
Proceed to cut the rest of the block into strips…
Now we’re going to create cubes by cutting each column into blocks. This is done the same way…
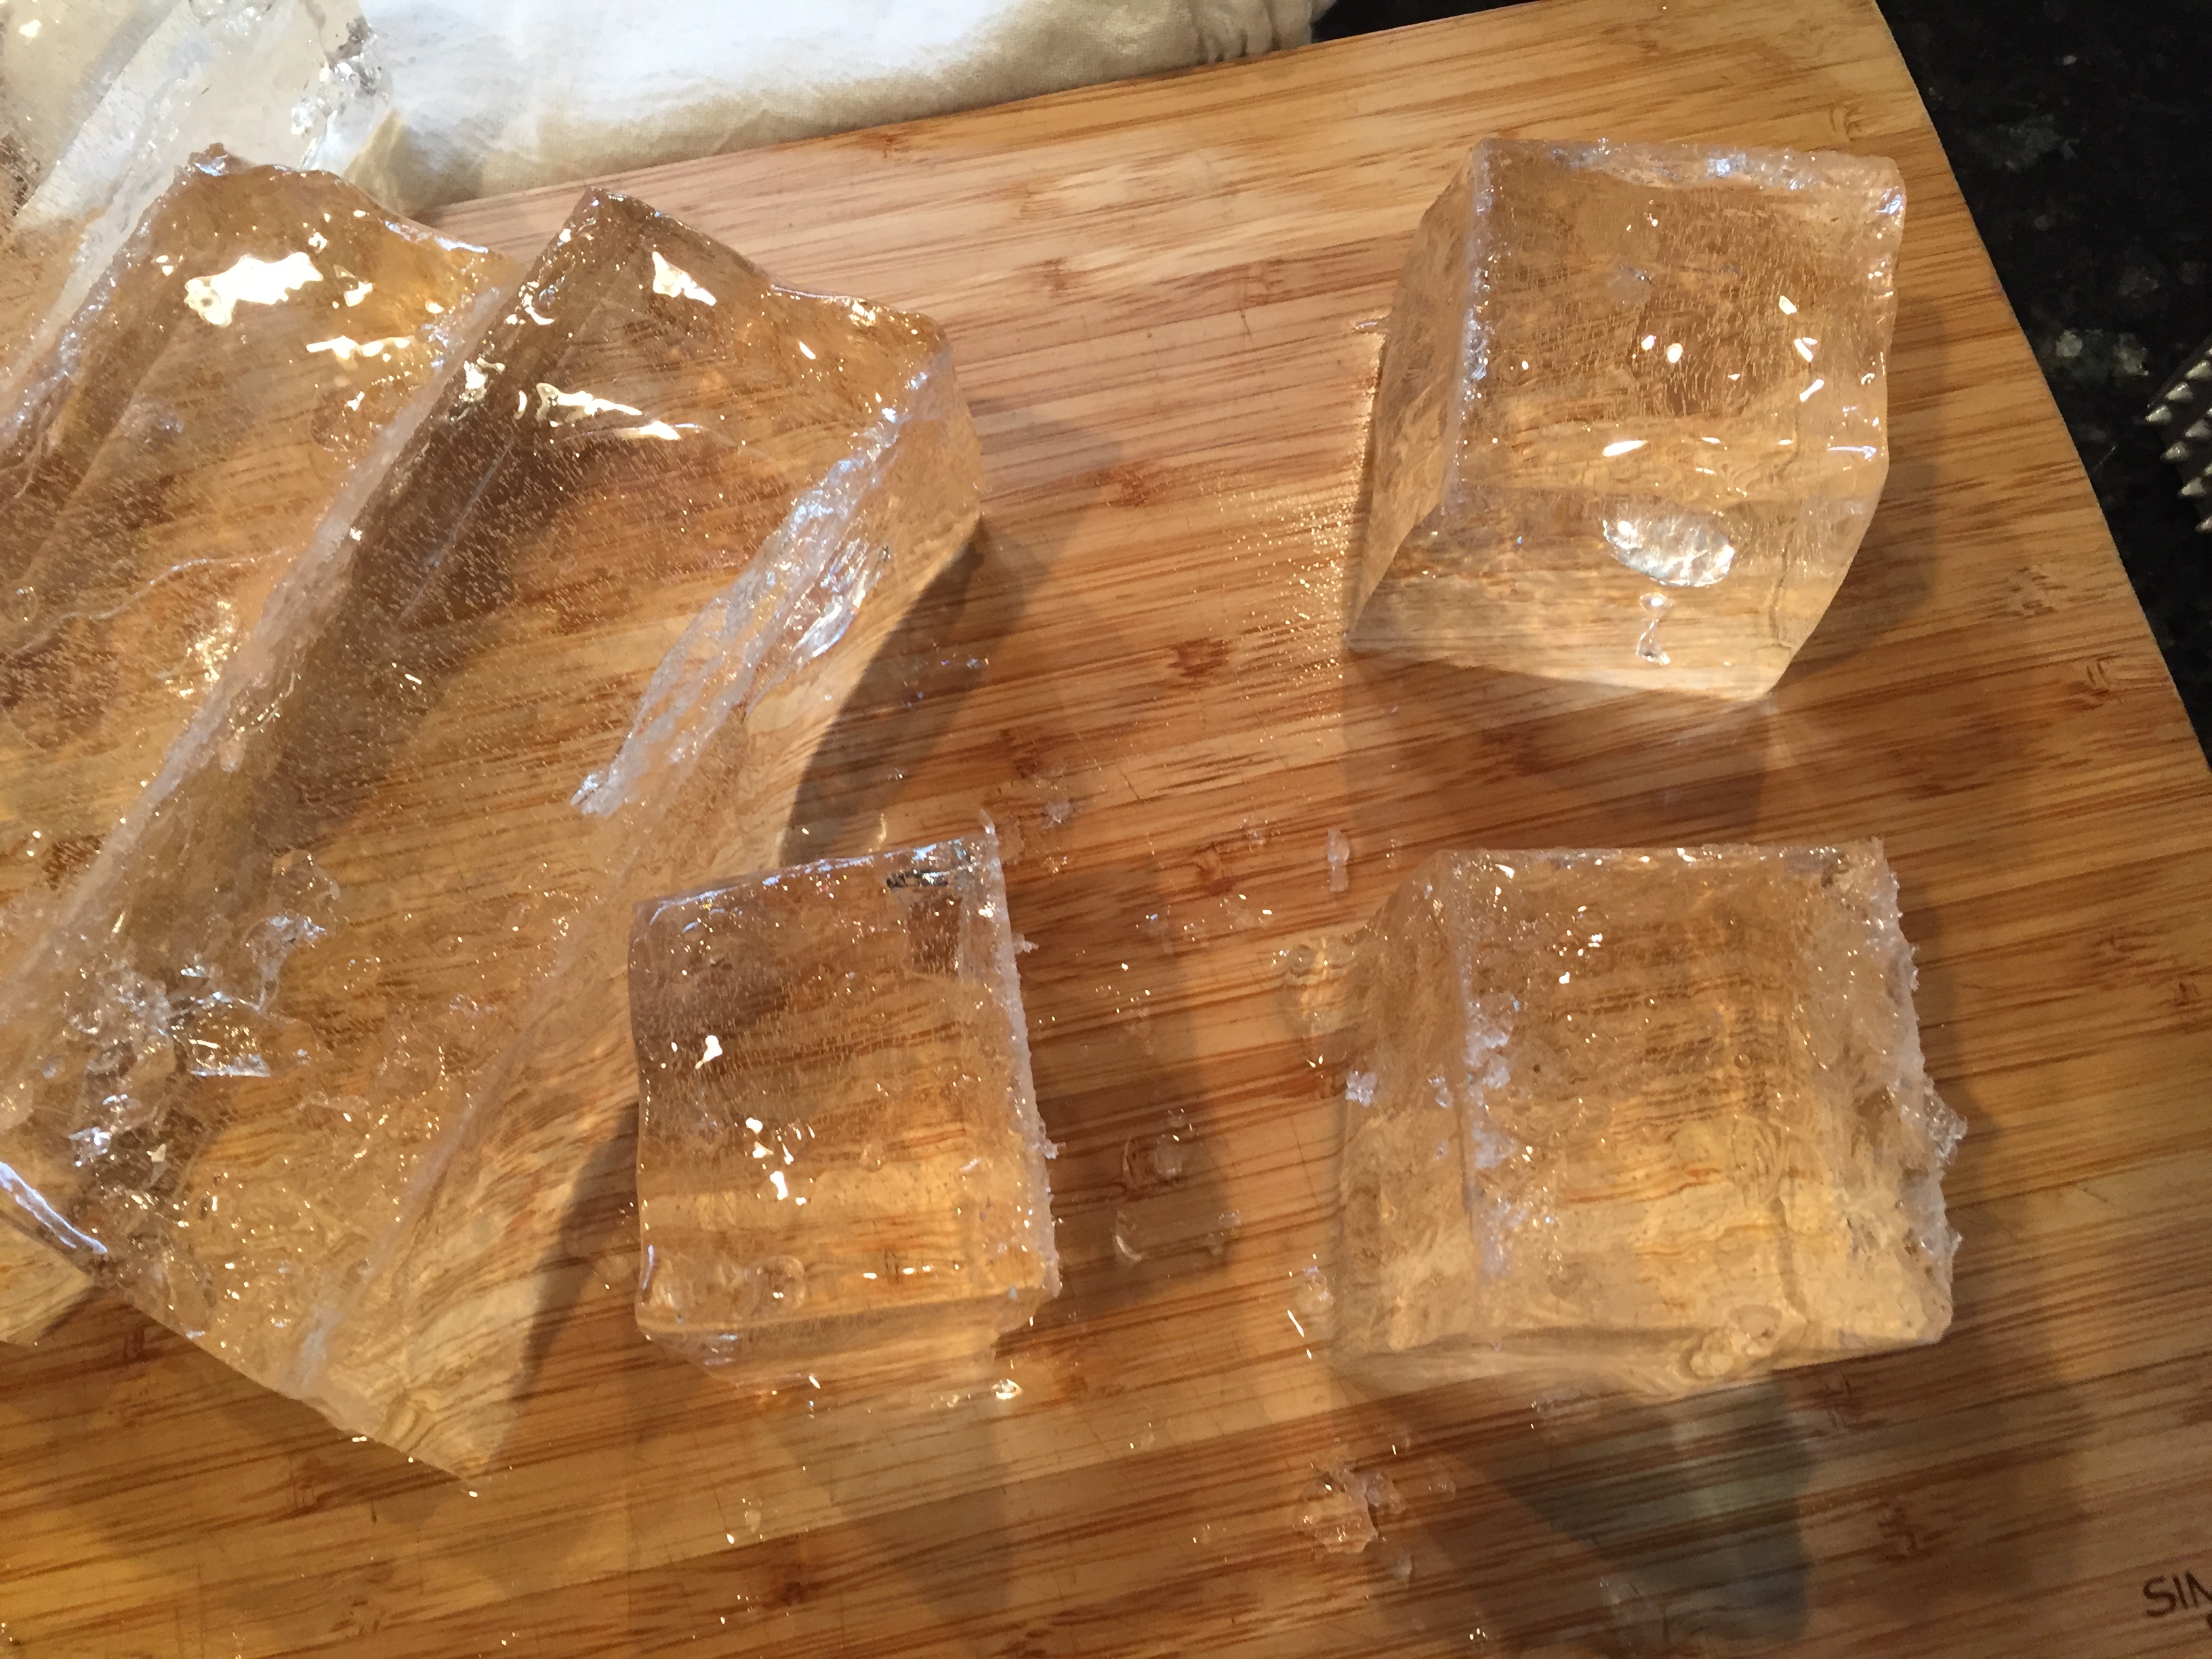
Once you’re done you can store the cubes in a bag in your freezer. I find it helps to dry off as much water as you can from each block prior to storing. If you don’t – they’ll tend to stick together in the bag.